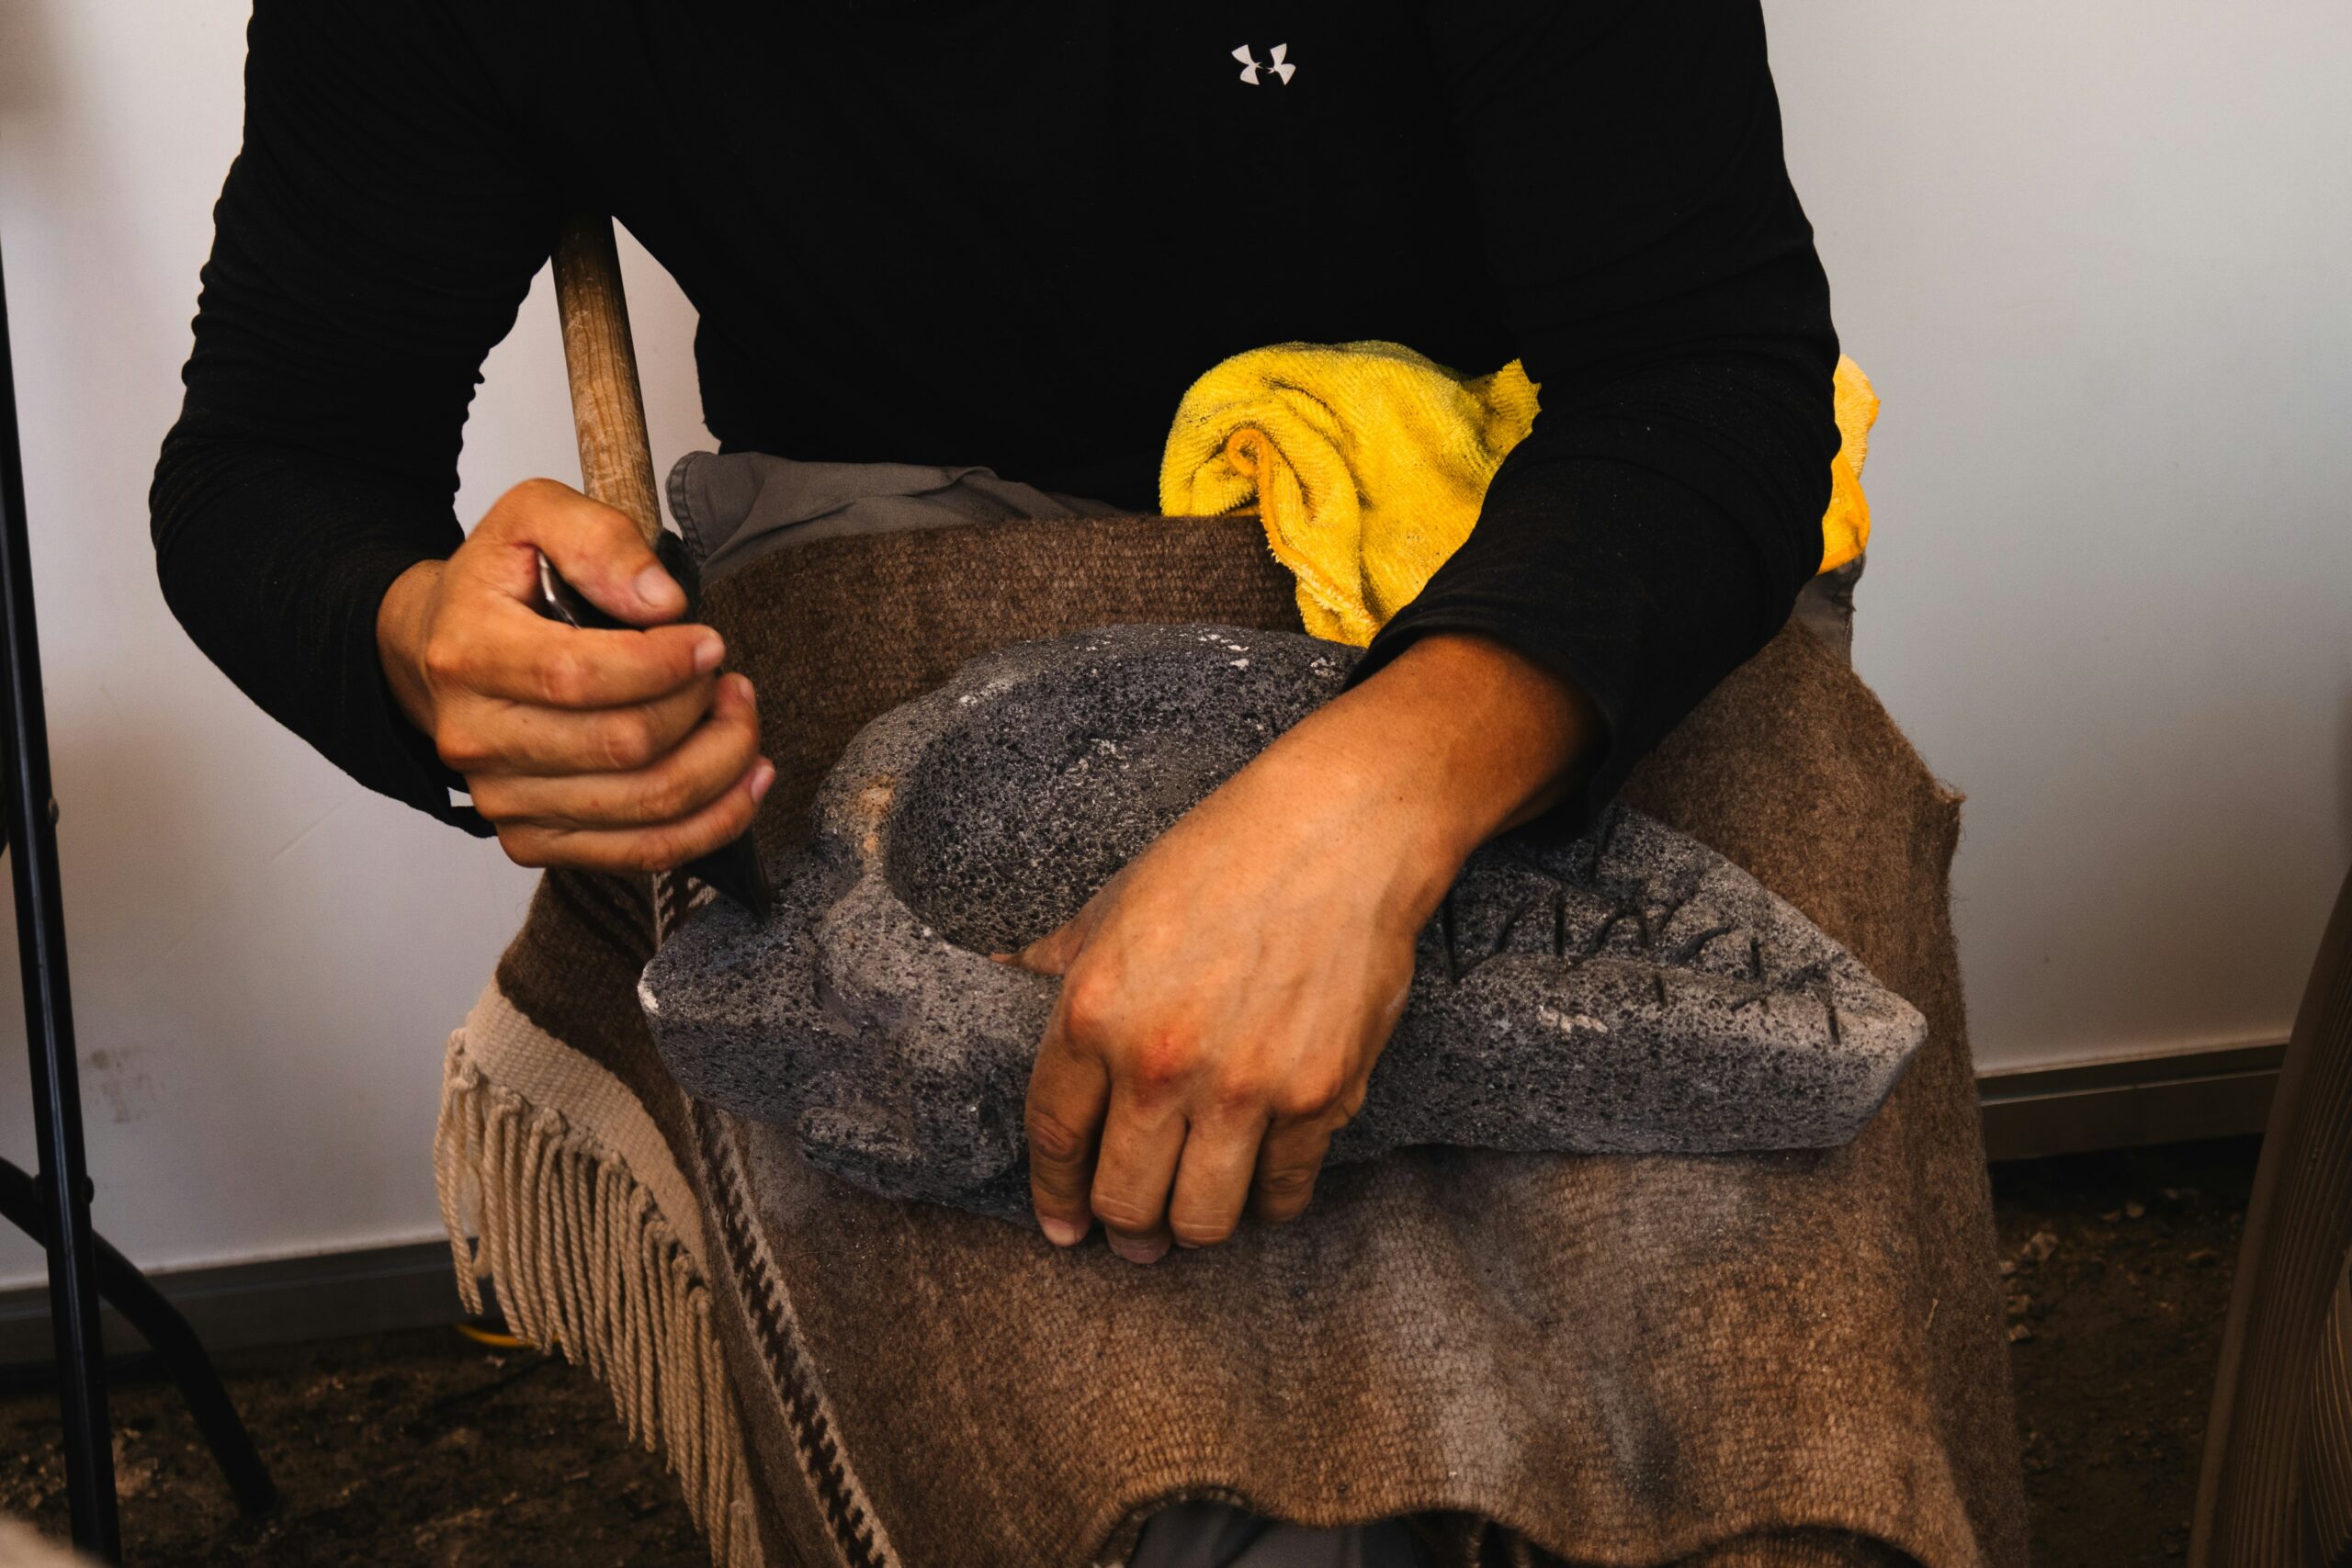
The act of preparing animal hides for use has been a cornerstone of human survival and cultural development for millennia. Before the advent of modern chemicals and machinery, our ancestors relied on a deep understanding of natural materials and ingenious, yet simple, tools to transform raw pelts into supple, durable, and functional items. Among the most fundamental of these tools were those crafted from stone. This article will delve into the traditional techniques of cleaning animal hides using stone tools, exploring the process from initial preparation to the final stages of making the hide usable for a myriad of purposes.
Understanding the Stone Toolkit for Hide Preparation
The effectiveness of stone tools in hide preparation lies in their ability to abrade, scrape, and manipulate the tough tissues of the animal skin without tearing or damaging it unnecessarily. The selection and shaping of these tools were crucial, dictated by the type of animal, the desired outcome, and the available stone resources.
Selecting the Right Stone and Tool Shapes
The most commonly utilized stones for hide preparation were those that could be flaked or ground to achieve a sharp, yet durable edge. Flint, chert, obsidian, and certain types of basalt were favored for their conchoidal fracture, which allows for the creation of very sharp edges. These stones were often worked using a process called knapping, where one stone (the hammerstone) is used to strike another (the core) to remove flakes and shape the tool.
- Scrapers: The most ubiquitous stone tool for hide cleaning was the scraper. These were typically made from flakes or core tools that were shaped with a working edge that was often retouched to maintain its sharpness. Scrapers varied in size and form. Small, delicate scrapers, often hafted onto bone or wood handles, were used for fine work, such as removing residual flesh and fat. Larger, more robust scrapers were employed for tackling tougher areas or for more aggressive de-fleshing. The angle of the scraping edge was critical; a steeper angle would be more aggressive, while a shallower angle would be gentler.
- Knives and Awls: While less directly involved in the “cleaning” phase in the sense of removing flesh and fat, stone knives and awls were essential for subsequent stages that involved manipulating the cleaned hide. Knives, with their sharp, linear edges, were used for cutting sinew, trimming edges, and sometimes for very precise de-fleshing. Awls, with their pointed tips, were used to pierce holes for lacing and sewing, a process that would be impossible without a thoroughly cleaned and prepared hide.
- Grinding Stones: In some traditions, flat grinding stones were also utilized. These could be used to smooth out irregularities on the hide after scraping or to work in softening agents like animal brains or fats.
The selection of stone was not purely functional; aesthetic considerations and the ease of working the material also played a role. Tribes often developed preferred types of stone based on their local geology, leading to distinct regional variations in toolkits.
Cleaning animal hides using stone tools is a fascinating practice that connects us to our ancestors and their survival techniques. For those interested in exploring the historical context of such traditional methods, a related article titled “Lessons from Ancient Climate Crisis: A Historical Perspective” provides valuable insights into how ancient societies adapted to their environments. This article highlights the importance of understanding past practices, including hide processing, in the face of modern climate challenges. You can read more about it here: Lessons from Ancient Climate Crisis: A Historical Perspective.
The Crucial Process of De-fleshing and De-greasing

Once an animal was harvested, the immediate task was to remove all traces of flesh, fat, and membrane from the hide. This was a labor-intensive process that required patience and the careful application of stone tools. The goal was to achieve a clean, even surface on both the flesh side and the hair side of the skin.
Initial Removal of Gross Flesh
After skinning the animal, the first step involved using larger, more robust stone tools to scrape away any large pieces of meat or thick fat deposits clinging to the hide. This was typically done on a stable surface, such as a log or a specially prepared de-fleshing beam. The scraper would be held at an angle to the hide, and a firm, downward motion would be used to push and pull the flesh away. The technique was more about “pushing” than “cutting,” as an overly aggressive cutting action could damage the skin.
- The De-fleshing Beam: A common setup for de-fleshing involved a sturdy log or branch, often set at an angle or supported on the ground. The hide would be draped over this beam, allowing the preparer to apply leverage and pressure effectively with their stone tools. The beam itself might be smoothed or even grooved to provide a better grip for the hide.
- Technique and Pressure: The angle at which the scraper was held was paramount. A more acute angle would dig into the flesh, while a broader angle would allow the tool to glide over the surface. Experienced individuals learned to feel the resistance of the flesh and adjust their pressure accordingly. It was a rhythmic, repetitive motion, gradually working across the entire surface of the hide.
- Dealing with Tough Areas: Certain areas, such as the belly or around the joints, could be particularly fatty or tough. These sections might require more persistent scraping or the use of a scraper with a slightly different edge angle.
Meticulous Removal of Residual Fat and Membranes
After the bulk of the flesh was removed, a more delicate and thorough process began to eliminate any remaining traces of fat, sinew, and the underlying membrane, known as the “dermis.” This was where smaller, sharper scrapers came into play, often with a finely honed edge.
- Flesh-Side Precision: The flesh side of the hide, which was previously the inside of the animal, held a significant amount of subcutaneous fat and connective tissues. These had to be meticulously scraped away. The goal was to expose the white, fibrous texture of the dermis. Any residual fat would prevent the hide from softening properly and could lead to spoilage.
- Membrane Removal: The tough inner membrane, the dermis, was also crucial to address. While the hide needed this layer for strength, any loose or diseased sections of it needed to be carefully scraped away. The goal was to create a uniform thickness and texture.
- Hair-Side Concerns: While the primary focus was on the flesh side, the hair side also required attention. Small pieces of connective tissue or dried blood might adhere to the hair follicles. These would be gently scraped away, being careful not to pull out or damage the hair itself if the intention was to preserve it.
The entire de-fleshing and de-greasing process could take many hours, sometimes even days, depending on the size and type of animal, as well as the skill of the preparer. This was a foundational step, and its thoroughness directly impacted the quality and longevity of the finished hide.
The Art of Softening and Preserving the Hide
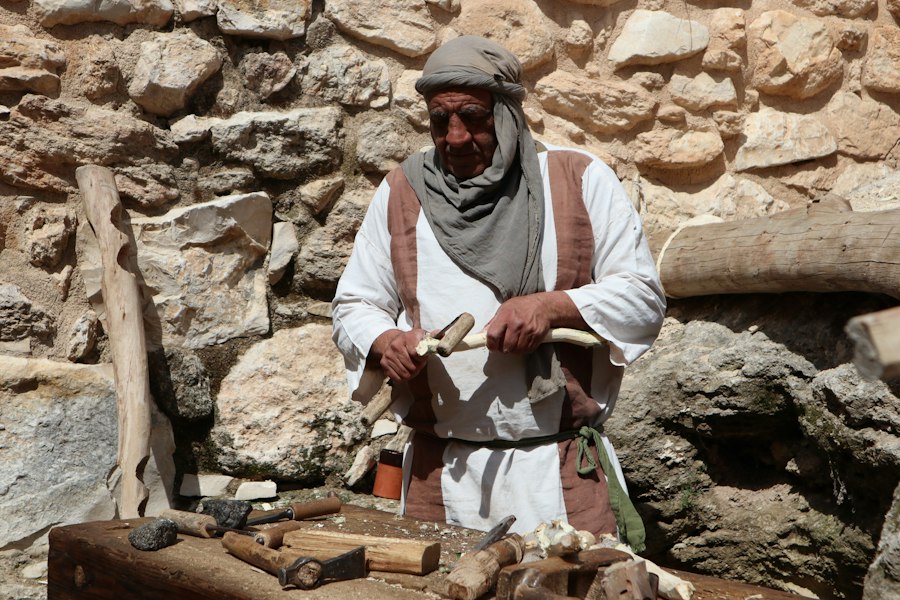
Once the hide was thoroughly cleaned of flesh and fat, it needed to be softened and preserved to prevent it from becoming stiff, brittle, or prone to decay. Traditional methods relied on mechanical action and the use of natural oils and fats.
Mechanical Softening: Stretching and Working the Hide
A crucial part of the softening process involved physically working the hide to break down the remaining collagen fibers and make them more flexible. This was often done in conjunction with, or immediately following, the cleaning stages.
- Stretching and Drying: Immediately after cleaning, the hide was typically stretched out. This could be done by lashing it to a frame, hanging it from poles, or even by using the preparer’s own body weight. The stretching prevented the hide from contracting and shrinking as it dried. As the hide began to dry, it would be continuously worked.
- Scraping and Abrasion: While the hide was drying and still somewhat damp, it would be subjected to further scraping. This time, the scraping was not about removing flesh but about further abrading the surface to enhance flexibility. The stone tools, especially those with rounded or blunted edges, could be used to “grain” the hide, working the fibers in different directions.
- “Breaking” the Hide: This involved a continuous process of pulling, twisting, and flexing the hide. Imagine a baker working dough; the hide needed to be manipulated in a similar fashion to achieve maximum suppleness. This could involve repeatedly pulling the hide over a smooth edge or rubbing it vigorously.
Impregnation with Natural Oils and Fats
To provide lasting suppleness and to protect the hide from moisture and decay, it was often impregnated with natural oils or fats. This process, sometimes referred to as “tanning” in a very broad sense, utilized readily available animal resources.
- Brain Tanning: The brains of the animal itself were a common source of emulsifying agents that allowed the natural fats to penetrate the hide effectively. The brains were typically mashed and mixed with water to create a slurry. This mixture would then be worked into the hide, either by rubbing it in or by soaking the hide in the solution. The proteins and fats in the brains helped to break down and lubricate the collagen fibers.
- Other Fat Sources: In some cases, other animal fats, such as those from the liver or tallow, might have been used. These would be rendered down and then worked into the hide.
- Working the Oils In: The process of working the oils into the hide was as important as the application. The hide would be repeatedly stretched, twisted, and rubbed to ensure that the fats permeated the entire structure of the skin, coating the individual fibers. This was a time-consuming but essential step for creating a durable and flexible product.
The combination of mechanical action and oil impregnation was a sophisticated understanding of the properties of animal skin, allowing for the creation of materials that could withstand the rigors of daily life.
The Role of Stone Tools in Hair Removal and Other Preparatory Tasks
While the primary focus of stone tools in hide cleaning is de-fleshing and de-greasing, they also played a significant role in the removal of hair and in other preparatory tasks that contributed to the overall usability of the hide.
Removing the Hair (De-hairing)
The method of hair removal varied depending on the desired outcome. If the hair was to be preserved, it required a much gentler approach than if the hide was intended to be de-haired.
- Lime or Ash Treatments (Precursors to Stone Tool Use): In many traditional practices, hides were first soaked in a solution of lime (derived from calcined shells or stones) or strong ash water. This alkaline solution helped to loosen the hair follicles, making them easier to remove. While the liming itself did not involve stone tools, it was a crucial preparatory step.
- Scraping for Hair Removal: Once the hair was loosened by the soaking process, stone scrapers were used to remove it. The technique involved holding the scraper at a low angle to the hide and using a pushing or scraping motion to lift the hair away from the skin. This was done on both the hair side and the flesh side, ensuring a clean surface.
- “Fleshing” the Hair Side: Even after the hair was removed, there would often be residual tissue or papillae from the hair follicles clinging to the flesh side of the skin. These would be meticulously scraped away using fine-edged stone tools to achieve a smooth and uniform surface.
Trimming and Shaping with Stone Knives
Once the hide was cleaned and de-haired, stone knives became essential for trimming away excess material and shaping the hide for its intended use.
- Edge Trimming: The outer edges of the hide, often irregular from the initial skinning process, would be neatly trimmed using sharp stone knives. This not only improved the aesthetic appearance but also made it easier to work with the hide for sewing or lacing.
- Cutting to Shape: For specific items, such as bags, clothing, or shelter components, the hide would be cut to precise shapes and sizes using stone knives. The sharp, flaked edges of tools made from obsidian or fine chert could create very clean cuts.
- Removing Stiff Areas: Sometimes, certain areas of the hide, particularly around the extremities, might remain tougher or stiffer than the rest. Stone knives could be used to carefully pare down these areas to match the flexibility of the rest of the hide.
The careful application of stone tools, from the initial rough de-fleshing to the final precise trimming, ensured that the hide was transformed from a raw animal product into a valuable and versatile material.
Cleaning animal hides using stone tools is a fascinating process that connects us to ancient practices and survival skills. For those interested in exploring the historical significance of tools and techniques used in various cultures, a related article discusses the intriguing authenticity of the Piri Reis map and its implications for understanding ancient navigation and resource utilization. You can read more about this captivating topic here. By examining such historical artifacts, we gain insight into the methods our ancestors employed, including the preparation of materials like hides for clothing and shelter.
The Cultural Significance and Enduring Legacy of Stone Hide Preparation
| Step | Tool Used | Action | Duration | Notes |
|---|---|---|---|---|
| 1. Skinning | Flint or Obsidian Knife | Cut around the animal to remove hide | 30-60 minutes | Careful cuts to avoid damaging hide |
| 2. Scraping | Stone Scraper | Remove flesh and fat from hide | 1-2 hours | Use repeated scraping motions |
| 3. Washing | Water and Stone Bowl | Clean hide with water to remove debris | 15-30 minutes | Use gentle rubbing with stone bowl |
| 4. Drying | Flat Stone Surface | Stretch and dry hide in shade | Several hours to days | Avoid direct sunlight to prevent cracking |
| 5. Softening | Rounded Stone | Rub hide to soften fibers | 30-60 minutes | Use circular motions to break stiffness |
The techniques of cleaning animal hides using traditional stone tools were not merely utilitarian; they were deeply embedded in the cultural fabric of human societies, representing a profound connection to the natural world and a testament to human ingenuity.
A Deep Understanding of Natural Processes
The mastery of hide preparation with stone tools demonstrated an intimate understanding of animal anatomy, the properties of skin, and the chemical and physical processes involved in preservation. This knowledge was passed down through generations, often through direct observation and practice, becoming a vital component of survival and cultural identity. The choice of tools, the techniques employed, and the desired outcome were all informed by a holistic view of the animal and its potential.
Intergenerational Knowledge Transfer and Skill Development
The learning curve for proficient hide preparation was steep. Young individuals would learn by assisting elders, observing their techniques, and gradually taking on more complex tasks as their skills developed. This process fostered patience, meticulousness, and a deep respect for the materials. The success of a hunt was only partially realized with the kill; the true value was unlocked through the skill and labor invested in transforming the animal into usable goods.
The Economic and Social Importance of Prepared Hides
In many traditional societies, prepared hides were a primary form of wealth and a vital commodity for trade. They provided essential clothing, shelter, and tools. The ability to expertly prepare hides conferred status and respect within the community. Specialized artisans might have emerged, recognized for their exceptional skill in transforming raw pelts into durable and beautiful products. The finished hides represented not just material goods but also the culmination of a collaborative effort, from the hunter to the preparer.
The Enduring Relevance of Traditional Techniques
While modern technologies have largely supplanted traditional methods, the principles and understanding behind stone tool hide preparation remain relevant. They offer insights into sustainable practices, resourcefulness, and a more intimate relationship with the natural world. Studying these ancient techniques allows us to appreciate the ingenuity of our ancestors and provides a valuable perspective on the development of human technology and culture. The legacy of these methods lives on, not just in historical artifacts, but in the ongoing interest in traditional skills and the appreciation for the enduring power of simple, effective tools.

Life 20,000 Years Ago: The Ultimate Ice Age Fight to Survive
FAQs
What materials are needed to clean animal hides using stone tools?
To clean animal hides using stone tools, you will need the following materials: a sharp stone tool for scraping, water for rinsing, a flat surface for stretching the hide, and a stone for softening the hide.
How do you scrape the hair off an animal hide using stone tools?
To scrape the hair off an animal hide using stone tools, you can use a sharp stone tool to carefully scrape the hair in a downward motion, working in small sections until all the hair is removed.
What is the process for rinsing an animal hide after scraping with stone tools?
After scraping the hair off an animal hide with stone tools, the hide should be rinsed thoroughly with water to remove any remaining debris and to help soften the hide for further processing.
How can you soften an animal hide using stone tools?
To soften an animal hide using stone tools, you can use a smooth stone to rub and stretch the hide in different directions, working the hide until it becomes more pliable and soft to the touch.
What are some tips for cleaning animal hides using stone tools effectively?
Some tips for cleaning animal hides using stone tools effectively include working in a well-ventilated area, taking breaks to prevent hand fatigue, and being patient and thorough in the cleaning process to achieve the best results.