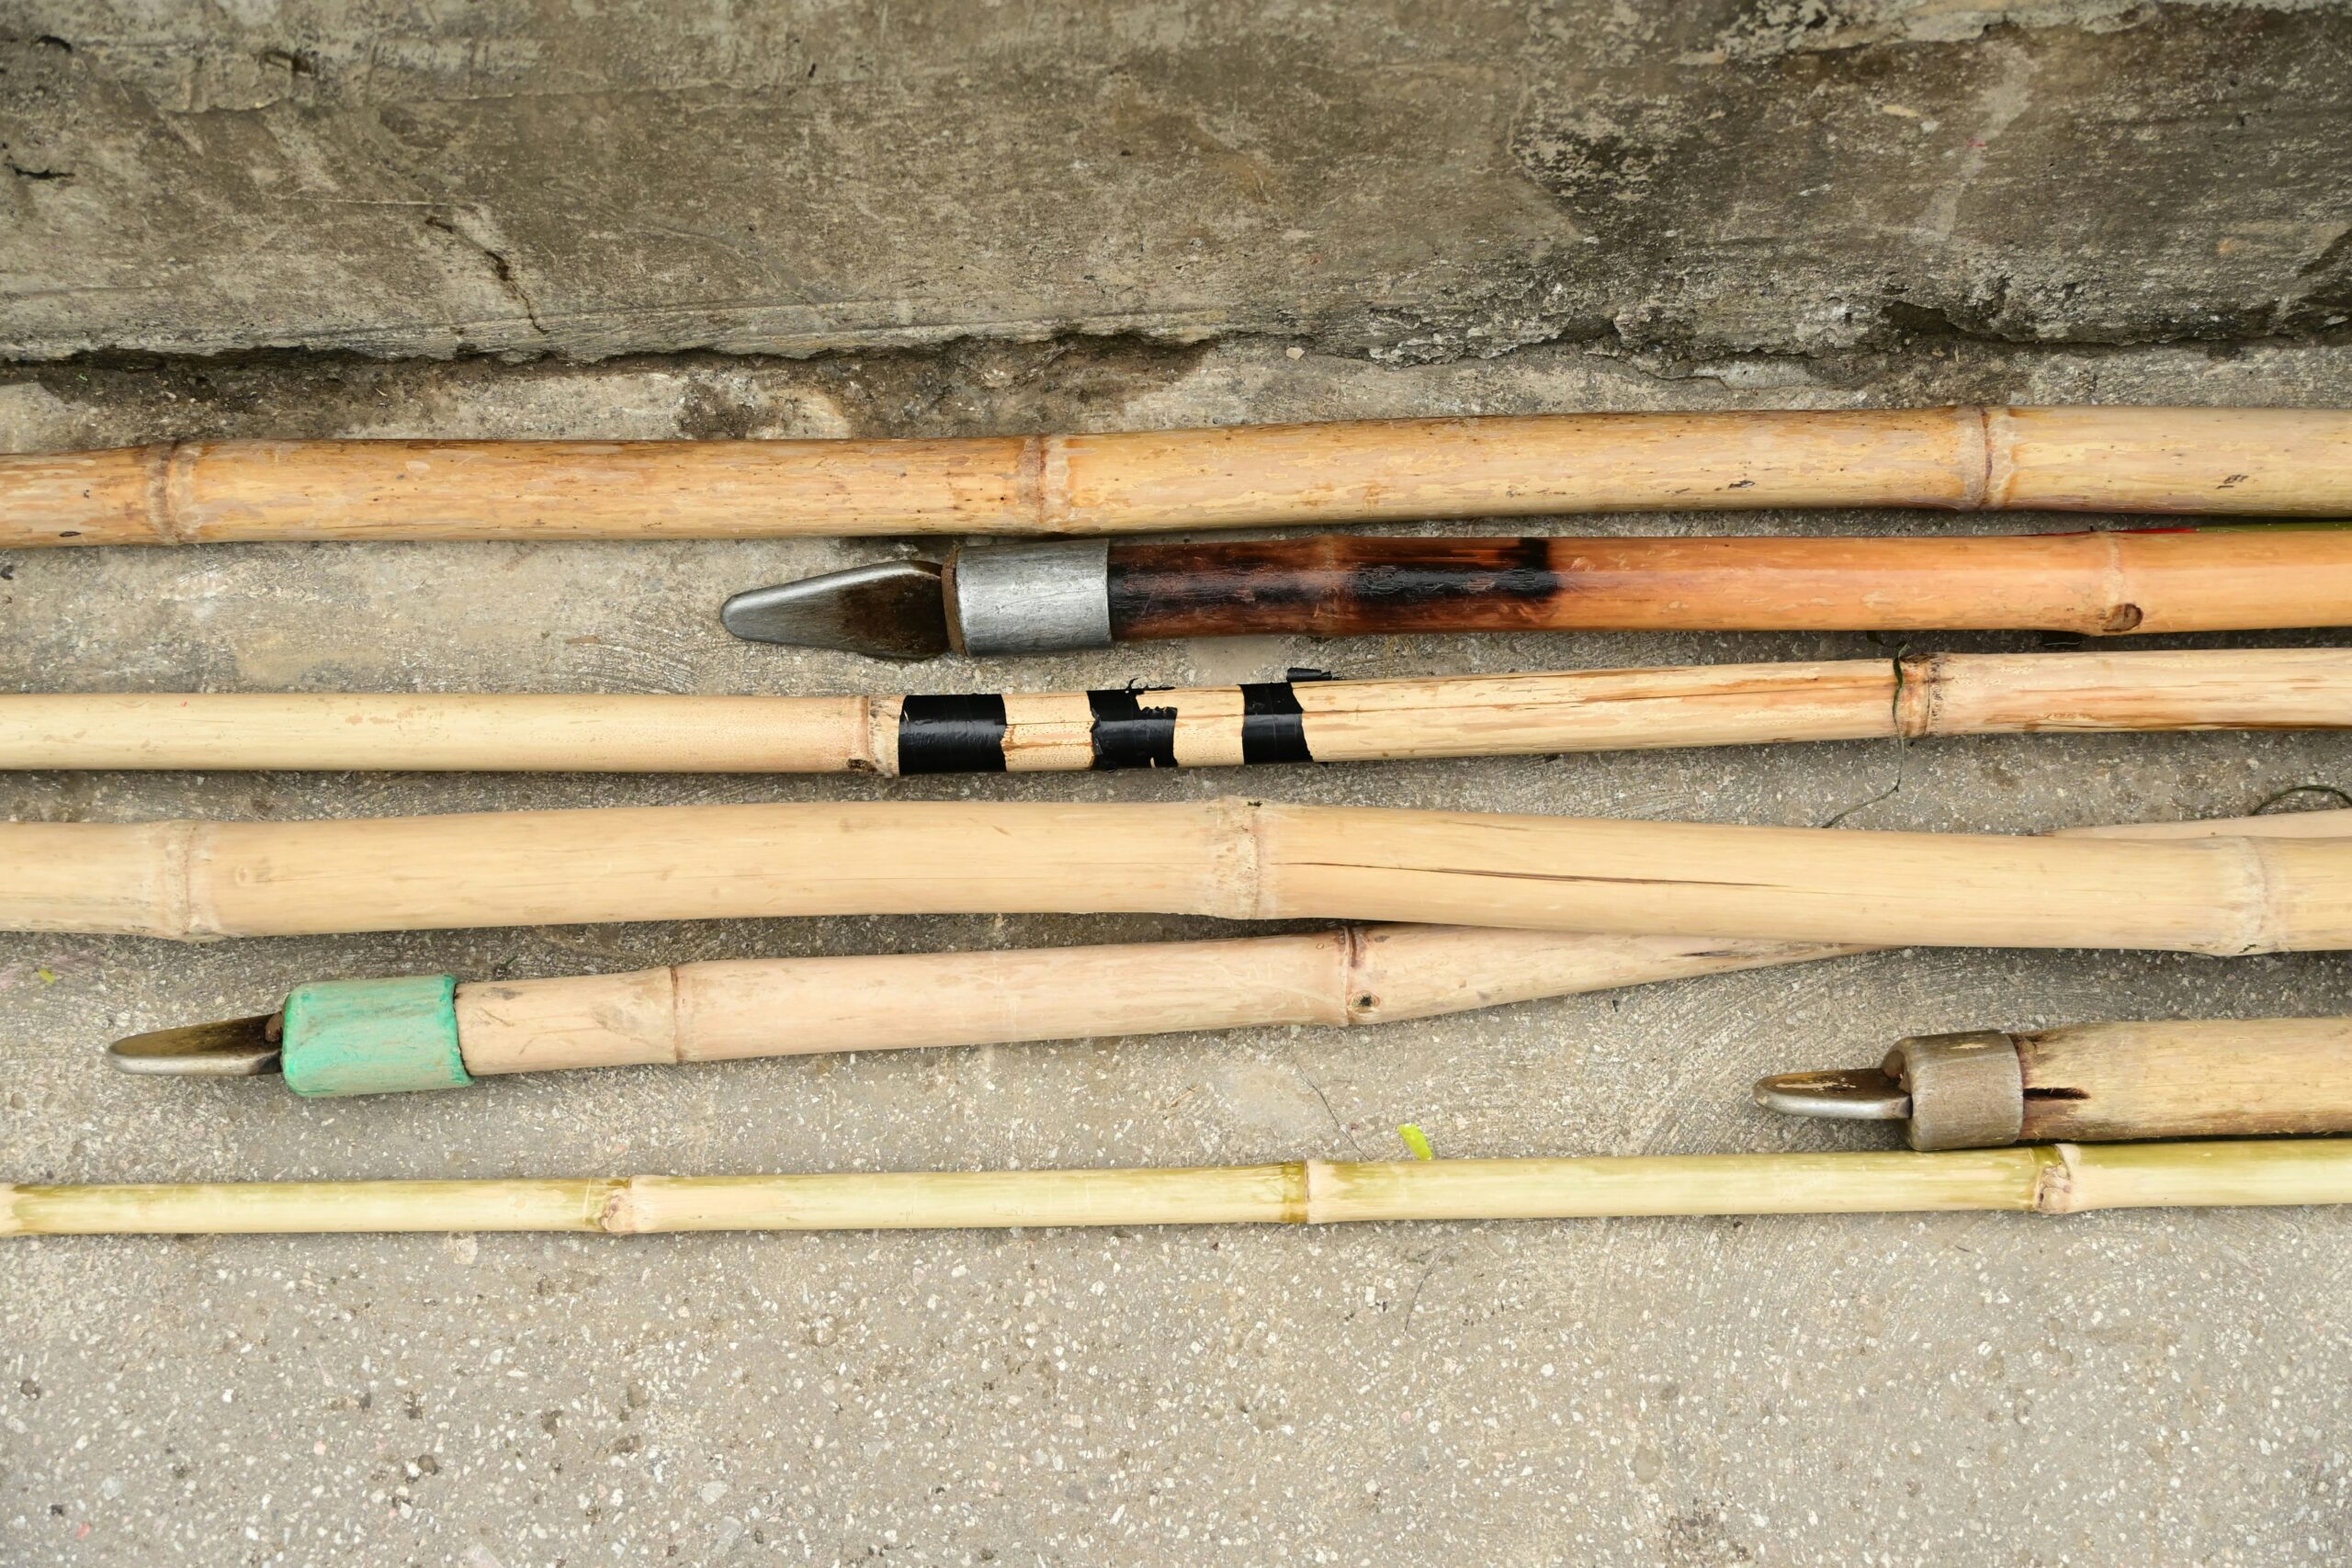
The art of primitive survival often hinges on the ability to transform raw natural materials into functional tools. Among the most essential of these is the spear. While the spearhead is crucial, the spear shaft is its backbone, dictating balance, reach, and ultimately, effectiveness. Understanding the process of crafting and utilizing spear shafts is a foundational skill for anyone seeking to master primitive living. It is a discipline that demands patience, observation, and a deep respect for the resources provided by the natural world. The selection of wood, the meticulous shaping, and the thoughtful assembly all contribute to a reliable weapon or hunting implement. Without a properly crafted shaft, even the sharpest stone or bone point will prove inadequate, rendering the spear clumsy and ineffective.
Selecting the Ideal Wood for Spear Shafts
The choice of wood is the most critical initial step in creating a functional spear shaft. Not all trees are created equal when it comes to suitability for this purpose. A primitive survivalist must possess a keen eye for identifying species that offer the right combination of strength, flexibility, and straightness. The ideal wood will be both resilient enough to withstand the stresses of use and light enough to be wielded with reasonable speed and accuracy. Moreover, the wood’s grain structure plays a significant role in its overall integrity.
Characteristics of Suitable Woods
The most desirable woods for spear shafts are typically hardwoods that possess a good strength-to-weight ratio. Species like ash, hickory, oak, and maple are often excellent choices, though their availability will vary greatly depending on geographic location. The key attributes to look for include:
- Straightness: The straighter the sapling or branch, the less work will be involved in straightening it. Significant bends will require extensive heat treatment and straightening, which can weaken the wood if not done expertly. Ideally, a shaft should be as straight as possible from the outset.
- Toughness and Resilience: The wood needs to be able to absorb impact without shattering. This means it should have a degree of flexibility, allowing it to bend slightly under stress rather than break outright. Woods with a dense but somewhat elastic grain are preferred.
- Density: While a very dense wood might be exceptionally strong, it can also be quite heavy, making the spear unwieldy. Conversely, very light woods may lack the necessary strength. A balance is sought.
- Absence of Knots and Imperfections: Knots and cracks create weak points. While minor imperfections can sometimes be worked around, a shaft riddled with them will be prone to breaking. Ideally, one should seek out sections of wood free from such flaws.
- Seasoning: While immediate use is sometimes necessary in a survival situation, properly seasoned wood is always superior. Seasoned wood is drier, lighter, and less prone to warping or splitting over time. However, in a pinch, green wood can be used, but it will require more careful drying and maintenance.
Identifying and Harvesting Suitable Saplings
Locating suitable saplings or branches often involves extensive knowledge of local flora. A survivalist will learn to recognize the growth patterns of trees that tend to produce long, straight shoots. Often, these are younger trees or branches growing in areas with ample sunlight, which encourages upright growth.
- The “Straight Shoot” Method: Many species, like hazel or certain willow varieties, produce long, straight shoots annually that are ideal for spear shafts. These often grow in coppiced woodlands where trees are periodically cut back to encourage new growth.
- Harvesting Technique: When harvesting a sapling or branch, it is crucial to do so with minimal damage to the parent tree, ensuring future growth. A sharp stone tool or a primitive saw can be used to make a clean cut. It is also important to consider the length needed for the spear, adding a little extra to account for trimming and shaping. The diameter should be appropriate for the intended use of the spear; a hunting spear will likely require a thicker shaft than a fishing spear.
In exploring the various techniques of primitive survival, the use of spear shafts stands out as a fundamental skill for hunting and self-defense. A related article that delves into the implications of technology and resource management in survival scenarios can be found at this link: Commercial Lunar Payload Services: Military Implications. This piece highlights how understanding resource allocation, much like the strategic use of spear shafts in survival situations, is crucial in both terrestrial and extraterrestrial environments.
Shaping and Straightening the Spear Shaft

Once a suitable piece of wood has been selected and harvested, the process of transforming it into a functional spear shaft begins. This stage involves meticulous shaping to create a comfortable grip, a balanced form, and most importantly, a perfectly straight shaft. Straightness is paramount for accuracy in both throwing and thrusting.
Initial Preparation and Rough Shaping
The initial steps focus on removing bark and any extraneous branches. This not only streamlines the shaft but also prepares the wood for further treatment.
- Debarking: Using a sharp stone flake or a primitive scraper, the bark is carefully removed. This can be done by scraping downwards along the length of the shaft. Removing the bark allows the wood to dry more evenly and prevents it from trapping moisture, which can lead to rot.
- Trimming: Any side branches are trimmed flush with the main shaft. The goal is to create a smooth, cylindrical form. This can be achieved through scraping and careful abrasion with rough stones or sand.
Straightening Techniques: The Art of Fire and Pressure
Achieving a truly straight shaft is often the most challenging aspect of crafting. Wood naturally has slight curves and twists due to its growth. The primary method for straightening involves controlled application of heat and pressure.
- The Principle of Heat and Plasticity: Wood, when heated, becomes more pliable. The goal is to heat the curved section of the shaft without burning or charring it excessively. This heated wood can then be gently bent into the desired straight form.
- Fire as a Tool: A small, controlled fire is essential. The curved section of the shaft is held over the coals, rotating it constantly to ensure even heating. The heat should be sufficient to make the wood pliable, but not so intense that it chars or ignites. This requires significant practice and a delicate touch.
- Applying Pressure: Once the wood is heated to the desired pliability, it is bent into a straight position. This can be done by hand, or by using a rudimentary jig or lever system. The shaft is held in this straight position until it cools and dries, at which point it will retain its new shape. This process may need to be repeated multiple times to correct stubborn curves.
- Water Cooling (Optional but Beneficial): Some primitive techniques involve dipping the heated and bent section in water to rapidly cool and set the shape. This can help to lock in the straightness more effectively.
- Using Natural Guides: Sometimes, a naturally occurring straight object like a rock crevice or a notched log can be used as a guide to help maintain straightness during the cooling process.
Refining the Shaft: Smoothing and Tapering
Once the shaft is acceptably straight, the focus shifts to refining its form for optimal handling and balance.
- Abrasion and Sanding: The entire shaft is smoothed using progressively finer abrasive materials. Rough stones, sand, or even dried animal hides can be used to create a smooth, comfortable surface. This not only improves grip but also reduces the likelihood of splinters.
- Tapering: The shaft is often tapered towards the tip. This involves gradually reducing the diameter as it approaches the point where the spearhead will be attached. A slight taper can help reduce wind resistance when thrown and also provides a more streamlined profile for penetration. This is achieved through continued scraping and abrasion.
Attaching the Spearhead: Securing the Point
The spearhead is the business end of the weapon, and its secure attachment to the shaft is paramount. A loose or poorly attached head will not only be ineffective but can also be dangerous. Primitive methods rely on strong bindings and careful shaping of the shaft tip.
Preparing the Shaft for the Head
Before any attachment can occur, the tip of the shaft must be meticulously prepared to receive the spearhead. This preparation will vary depending on the type of spearhead being used.
- Creating a Mortise (for Stone/Bone Heads): For stone or bone spearheads that have a tang (a narrow projection designed to fit into the shaft), a notch or mortise is carefully carved into the end of the shaft. This mortise should be just large enough to snugly accommodate the tang of the spearhead. The depth of the mortise is also important; it needs to be deep enough to provide good purchase but not so deep that it significantly weakens the shaft.
- Shaping for Socketed Heads: If using a socketed spearhead (one with a hollow opening for the shaft to fit into), the tip of the shaft is often slightly reduced in diameter to fit into the socket. It might also be planed or sanded to a more conical shape to ensure a tight fit.
- Creating a Split Shaft (for some arrowheads or smaller points): For some very small or delicate points, the very tip of the shaft might be split lengthwise. The tang of the point is then inserted into this split, and the two halves of the shaft are bound together tightly around the tang.
Binding Techniques: Sinew, Hide, and Resin
The primary method of securing a spearhead is through robust binding. This involves using strong natural materials to create a tight, durable bond between the shaft and the head.
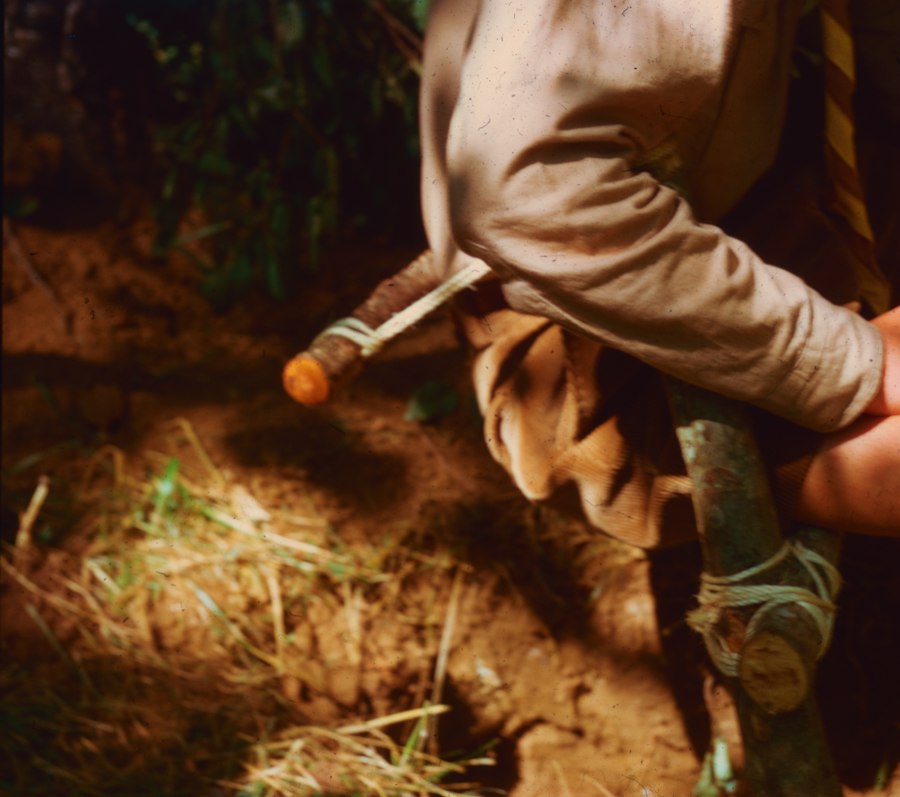
- Sinew: Animal sinew, particularly from the leg tendons of larger animals, is an excellent binding material. When dried, it shrinks and tightens, creating an incredibly strong bond. It is typically soaked in water to make it pliable before being wrapped tightly around the shaft and spearhead. As it dries, it contracts, further securing the head.
- Rawhide: Strips of rawhide (untanned animal hide) are also effective. Similar to sinew, rawhide shrinks as it dries, creating a very strong binding. It is often used in conjunction with other materials.
- Plant Fibers: Strong plant fibers, such as those from nettles, yucca, or certain barks, can be twisted into cords and used for binding. While not as strong as sinew or rawhide, they are readily available in many environments.
- Resin and Pitch: Natural resins, like pine pitch, can be heated and used as an adhesive. Applied over the binding, it seals the joint, further preventing moisture ingress and strengthening the bond. It also helps to fill any small gaps between the head and the shaft.
Adding Stability and Durability
Beyond the primary binding, additional steps can be taken to enhance the longevity and stability of the spearhead attachment.
- Whipping the Binding: The binding material is often “whipped” at the end, meaning it is tightly wrapped over itself in a specific pattern to create a very secure knot that will not unravel.
- Protective Coatings: Once the binding is complete, and any adhesive has set, the entire area can be coated with a protective layer. This could be a layer of more pitch, animal fat, or even beeswax, which helps to waterproof the binding and protect it from wear and tear.
Balancing and Testing the Finished Spear
A perfectly crafted spear shaft is useless if the finished spear is unbalanced or flawed. The final stages of preparation involve meticulous balancing and rigorous testing to ensure the spear performs as intended. This is where the accumulated effort of crafting truly pays off.
The Importance of Balance
Balance is crucial for both accuracy and ease of use. A well-balanced spear feels like an extension of the thrower’s arm, allowing for more controlled and powerful movements. An unbalanced spear can be difficult to throw accurately, leading to missed prey or even injury to the user.
- The Center of Balance: The ideal center of balance for a throwing spear typically falls within the first third of the shaft, measured from the spearhead. This varies depending on the intended use; a thrusting spear might have a slightly different balance point than a throwing spear.
- Identifying Imbalance: The easiest way to check balance is to hold the spear at different points along its length with the index fingers of both hands and feel where it naturally balances. If it consistently tips towards the head, it is head-heavy. If it tips towards the butt, it is tail-heavy.
Adjusting Balance
Achieving the correct balance often involves subtle adjustments to the shaft itself or the weight distribution.
- Shaving Weight: If the spear is too tail-heavy, weight can be removed from the butt end of the shaft by further scraping or carving.
- Adding Weight: If the spear is too head-heavy, weight can be added to the butt end. This could involve embedding small stones or dense pieces of wood into the butt, or wrapping the butt with additional binding material. In some cases, a heavier butt cap might be fashioned.
- Shaft Diameter and Length: The initial choices of shaft diameter and length also significantly influence balance. A thicker or longer shaft will naturally have more mass towards the butt end.
Field Testing: The Ultimate Evaluation
No amount of theoretical knowledge can replace practical testing. The finished spear must be tested in a safe environment to assess its performance.
- Throwing Accuracy: Practice throwing the spear at a stable target from various distances. Observe the trajectory, the stability of flight, and the impact. A well-balanced spear should fly true and hit with authority.
- Thrusting and Poking: If the spear is intended for thrusting, practice thrusting into a soft, yielding target like a hay bale or a thick patch of moss. Assess the stability of the head and the overall rigidity of the shaft.
- Durability Checks: Observe the spearhead attachment. Are there any signs of loosening? Is the shaft holding up under the stress of impact? Small cracks or splits that might appear during testing can often be repaired before the spear is put to serious use.
- Grip and Comfort: Pay attention to how the spear feels in the hand. Is the grip comfortable? Is the smoothed surface adequate? Minor adjustments to the grip area can be made based on this feedback.
In the realm of primitive survival skills, the use of a spear shaft can be a crucial technique for hunting and self-defense. Understanding how to craft and utilize a spear effectively can greatly enhance one’s ability to thrive in the wild. For those interested in exploring more about survival strategies, you might find this article on the importance of resource management in challenging situations insightful. It emphasizes the significance of adapting to your environment, much like how one would adapt their spear-making techniques to suit different hunting scenarios. To read more about effective survival tactics, check out this resource.
Maintaining and Enhancing Spear Shafts for Longevity
| Metric | Description | Typical Values | Importance in Primitive Survival |
|---|---|---|---|
| Shaft Length | Length of the spear shaft from butt to tip | 1.5 to 2.5 meters | Longer shafts allow greater reach and leverage for hunting |
| Material | Type of wood or plant used for the shaft | Hardwoods like ash, hickory, or bamboo | Durability and flexibility affect spear effectiveness and longevity |
| Diameter | Thickness of the spear shaft | 2 to 3 cm | Balance between strength and weight for ease of throwing or thrusting |
| Weight | Mass of the spear shaft | 300 to 600 grams | Light enough for throwing, heavy enough for penetration |
| Flexibility | Ability of the shaft to bend without breaking | Moderate flexibility (measured qualitatively) | Prevents breakage on impact and improves spear durability |
| Surface Treatment | Methods used to smooth or harden the shaft surface | Polishing, fire-hardening | Improves durability and reduces splintering |
| Attachment Method | How the spearhead is fixed to the shaft | Binding with sinew, plant fibers, or resin | Secure attachment critical for spear effectiveness |
The creation of a spear shaft is not a one-time event. Like any primitive tool, it requires ongoing maintenance to ensure its longevity and effectiveness. Moreover, certain enhancements can be made to improve its performance and durability over time.
Regular Inspection and Repair
The most crucial aspect of maintenance is regular inspection for any signs of wear or damage.
- Checking for Cracks and Splits: After each use, or periodically, the shaft should be carefully inspected for any new cracks, splits, or splinters, especially around the tip and the grip area.
- Assessing the Binding: The binding around the spearhead is particularly vulnerable. It should be checked for any signs of fraying, loosening, or degradation.
- Minor Repairs: Small cracks can sometimes be sealed with pitch or resin. Loose binding can be reinforced with additional wraps of sinew or rawhide. If the shaft is significantly damaged, it may need to be replaced entirely.
Protecting Against the Elements
Wood is susceptible to degradation from moisture, dryness, and insects. Primitive methods offer ways to mitigate these factors.
- Waterproofing with Fat or Pitch: Coating the shaft with animal fat (rendered tallow or lard) or pine pitch can help to repel moisture and prevent the wood from drying out too rapidly or becoming waterlogged. This creates a protective barrier against the elements.
- Drying and Storage: If the spear is not in constant use, it is best to store it in a dry, relatively temperate location. Avoid leaving it exposed to direct sunlight for extended periods, which can cause it to dry out and become brittle. Conversely, prolonged exposure to damp conditions can lead to rot.
Enhancements for Performance and Durability
Beyond basic maintenance, several enhancements can be made to improve the spear shaft’s capabilities.
- Reinforcing the Butt: The butt end of the spear can be reinforced with a harder piece of wood, bone, or even a stone cap. This protects it from damage if it is used for digging or for striking.
- Creating a Better Grip: While smoothing is essential, the grip area can be further enhanced. This might involve carving shallow grooves into the shaft for better purchase, or wrapping the grip area with a piece of leather or rough hide.
- Treating for Pests: In environments prone to wood-boring insects, certain natural treatments might be applied. Some sources suggest using strong-smelling natural substances like certain plant saps or oils to deter pests, though this is often experimental.
- Modifying for Specific Uses: Over time, a skilled primitive survivalist might even modify a shaft for specialized purposes. For example, a heavier butt might be added to a spear intended for felling small saplings, or a lighter, more streamlined shaft might be crafted for maximum throwing distance.
The journey from a humble sapling to a deadly or useful spear shaft is a testament to human ingenuity and the profound connection between humanity and the natural world. Each step, from careful selection to meticulous shaping and rigorous testing, contributes to the creation of a tool that has been vital for survival for millennia. Mastering this craft not only equips one with a practical implement but also instills a deeper understanding of natural materials and the enduring principles of primitive technology.