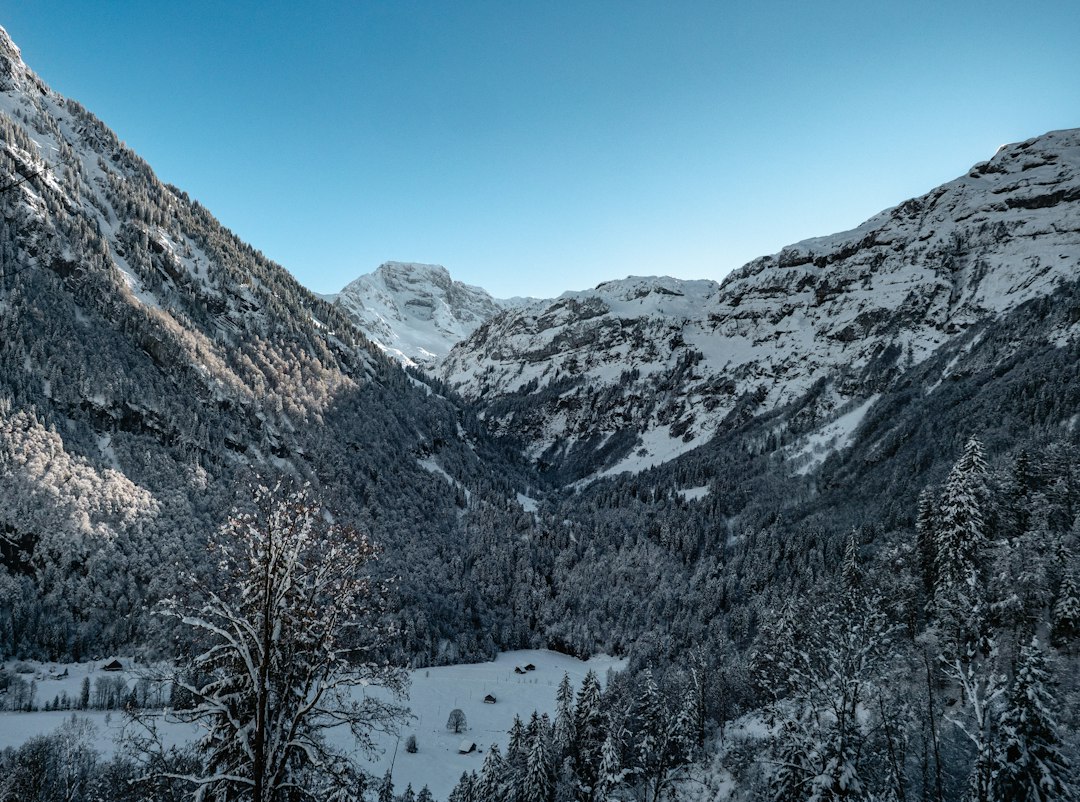
The biting wind howled through the jagged peaks, carrying with it a sting that promised a rapid descent into hypothermia. For the unprepared, a frozen valley can transform from a breathtaking panorama into a deadly trap. The ability to find and secure emergency shelter is not merely a matter of comfort; it is a primal instinct, a testament to humanity’s resilience in the face of unforgiving environments. In the frigid embrace of a mountain valley, where temperatures plummet and visibility can be reduced to mere feet, the knowledge of how to create a haven can mean the difference between survival and succumbing to the elements. This article delves into the essential survival tips for finding and establishing emergency shelter in such treacherous conditions, equipping individuals with the crucial skills to navigate and endure the frozen wilderness.
Assessing the Terrain and Immediate Dangers
Before embarking on the search for shelter, a critical assessment of the surrounding environment is paramount. Understanding the nuances of the terrain and identifying immediate threats can significantly influence the shelter selection and construction process. The frozen valley presents a unique set of challenges, from unstable snowpack to potential avalanche zones, and recognizing these hazards is the first line of defense.
Identifying Natural Shelters and Their Limitations
Nature often provides the most readily available shelter options. Natural formations, sculpted by wind and ice over millennia, can offer a degree of protection from the elements. Caves, overhangs, and dense thickets of evergreen trees are prime candidates. However, it is crucial to approach these natural shelters with a discerning eye, assessing their suitability and potential drawbacks.
Evaluating Cave Stability and Occupancy
Caves, while offering excellent protection from wind and precipitation, can harbor unseen dangers. A thorough inspection is necessary to ensure the cave is structurally sound. Look for signs of recent rockfall or ice accumulation that could indicate instability. Furthermore, it is vital to ascertain if the cave is already inhabited by wildlife, such as bears or other predators. The presence of fresh tracks, droppings, or pungent odors signals a potential conflict and necessitates seeking an alternative location. The depth of the cave also plays a role; a shallow overhang might offer some protection from direct wind but little insulation from ambient cold. Deeper caves, while more secure, can also be prone to trapping moisture and becoming excessively cold if ventilation is poor. The floor of the cave should ideally be dry or easily cleared of snow and ice, and it should be large enough to accommodate the intended occupants without being so cavernous that it becomes difficult to heat.
Assessing Overhangs for Wind and Snow Load
Rock overhangs can provide a significant barrier against wind and falling snow. However, their effectiveness is dependent on their size and angle. A shallow overhang offers minimal protection, while a deep, well-formed one can create a surprisingly sheltered microclimate. The primary concern with overhangs is the potential for snow accumulation directly above them. In areas with heavy snowfall or steep slopes above, the risk of an avalanche or a significant snow slide falling onto the shelter is a serious consideration. Observing the snowpack on the slope above the overhang is crucial. Look for signs of instability, such as cracking, a “whumpf” sound when walking nearby, or evidence of recent slides. The angle of the overhang should ideally be such that it deflects snow rather than collects it. Additionally, ensure the overhang provides sufficient headroom and is not prone to dripping water, which can freeze and create hazardous icy surfaces.
Utilizing Dense Coniferous Trees for Windbreaks
In heavily forested valleys, dense stands of coniferous trees, particularly spruce and fir, can offer a valuable windbreak. The low-hanging branches of these trees create a natural barrier against the wind, trapping some of the warmer air against the ground. While not a complete shelter, a well-chosen cluster of trees can significantly reduce wind chill and provide a less exposed location for constructing a more robust shelter. The key is to find a dense, mature stand where the branches interlock, creating a continuous barrier. Avoid areas with deadfall or young, sparse trees that offer little protection. The ground beneath such trees is often more protected from snowfall, and the retained heat from the soil can offer a marginal temperature advantage. However, these locations can also be prone to accumulating snow, so clearing a space beneath the densest part of the canopy is advisable.
Recognizing Avalanche and Snowdrift Hazards
Frozen valleys are often synonymous with snow, and with snow comes the inherent risk of avalanches. Understanding the conditions that promote avalanche formation is critical for survival. Additionally, treacherous snowdrifts can obscure terrain, create hidden obstacles, and pose a significant risk of entrapment.
Understanding Avalanche Formation and Prevention
Avalanches are triggered by a combination of factors: steep slopes, accumulated snow, and a weak layer within the snowpack. Recognizing these conditions is paramount. Slopes steeper than 30 degrees are generally considered avalanche-prone. The presence of recent heavy snowfall, rapid temperature fluctuations, or wind loading can all destabilize the snowpack. Observing the snow surface for signs of instability, such as recent avalanche debris or the characteristic “cornice” formations on ridge tops, is crucial. When choosing a shelter location, always avoid the direct path of potential avalanches. This includes the run-out zones at the base of steep slopes and gullies that act as natural funnels. When traveling in avalanche terrain, carrying essential safety equipment such as an avalanche beacon, probe, and shovel is non-negotiable. If there is any doubt about the stability of the snowpack, it is always safer to choose a different route or seek shelter on a less exposed aspect.
Navigating and Utilizing Snowdrifts for Shelter
Snowdrifts, while appearing as soft mounds of snow, can conceal treacherous depths and hidden obstacles. When searching for shelter, it is vital to exercise caution when traversing areas with significant drifting. Use a ski pole or a sturdy stick to probe the snow ahead, testing its depth and stability. Deep drifts can be a hazard for entrapment, particularly if the snow is heavy and wet. However, snowdrifts can also be utilized as a building material for shelters. Packed snow, especially if it has been exposed to wind, can be surprisingly dense and insulating. Digging into the leeward side of a large drift can create a natural windbreak and a surprisingly warm space. The key is to ensure the snow is compacted enough to support the roof of the shelter and to avoid areas where the drift might be unstable or concealing a hidden crevasse.
When traveling through frozen valleys, finding emergency shelter can be a matter of survival. It’s crucial to be prepared for unexpected weather changes and to know where to seek refuge in case of an emergency. For more insights on safeguarding your valuables and ensuring your safety while traveling, you might find this article helpful: Protecting Your Gold: Safeguarding Against Government Seizure. This resource offers valuable tips that can enhance your overall travel preparedness.
Constructing Improvised Shelters for Extreme Cold
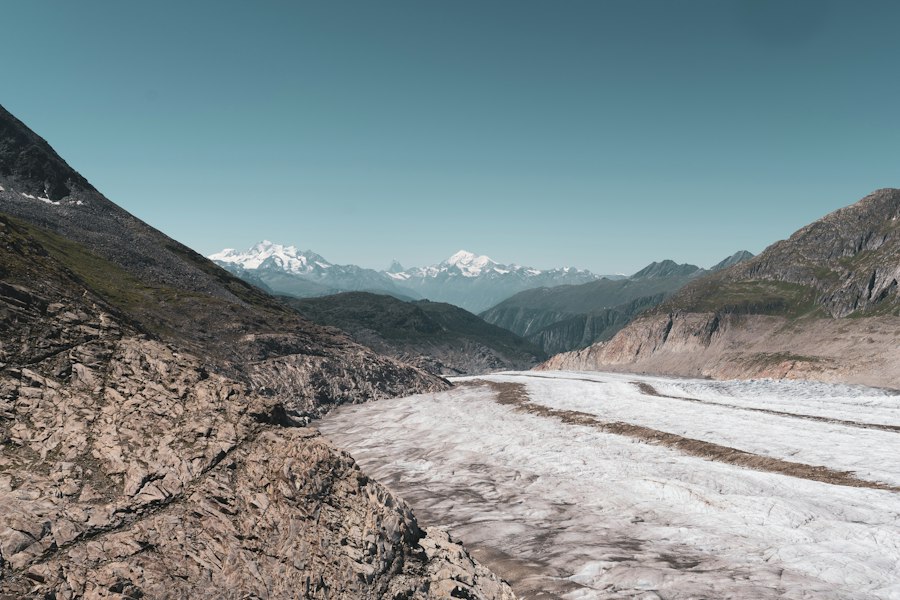
When natural shelter is insufficient or unavailable, the ability to construct an improvised shelter becomes a vital survival skill. These structures, built from readily available materials, are designed to provide insulation, block wind, and retain body heat, creating a critical buffer against the freezing temperatures. The primary goal is to create a space that minimizes heat loss.
Leveraging Snow for Insulation and Structure
Snow, often perceived as a hindrance, is in fact one of the most effective insulating materials available in a frozen environment. Its porous structure traps air, creating a barrier against the cold. Understanding how to utilize snow for both structural integrity and insulation is key to building an effective cold-weather shelter.
Building a Quinzee: Snow Shelter Expertise
A quinzee is a shelter constructed by piling snow into a large mound and then hollowing it out from the inside. This method allows for the creation of a strong, insulated structure. The process begins by creating a large pile of snow, ensuring it is packed down as much as possible to increase its density. Long sticks or probes are then inserted into the mound to act as a guide for the thickness of the walls; when the tips of these sticks become visible from the outside, it indicates that the walls are sufficiently thick. The interior is then excavated, starting from the bottom and working upwards, creating a dome-shaped space. Ventilation is crucial, and a small hole is typically left near the ceiling for air circulation. The internal space should be kept small to maximize the effectiveness of body heat in warming the shelter. The snow walls, ideally around two feet thick, will freeze into a solid, windproof structure that provides excellent insulation.
Digging a Snow Cave: Strategic Excavation
A snow cave offers a more robust and often more insulated shelter than a quinzee, particularly if a deep, stable snowdrift is available. The process involves excavating a chamber into the side of a snowdrift or a snowbank. It is essential to select a location with ample snow depth. The entrance should be dug upwards or at an angle to prevent warm air from escaping and cold air from entering. A small tunnel can be dug first, leading to the main chamber. The sleeping platform should be raised slightly above the entrance level to trap warmer air within the shelter. Ventilation is again paramount; a small hole should be created at the highest point of the cave. The compacted snow walls of a well-built snow cave provide excellent thermal insulation, keeping the interior significantly warmer than the ambient outdoor temperature. However, caution must be exercised to avoid digging into unstable snow or compromising the structural integrity of the drift.
Constructing a Snow Trench: Simplicity and Effectiveness
For a quicker, more rudimentary shelter, a snow trench can be an effective option. This involves digging a trench into the snow, deep enough to lie down in, and then covering it with a makeshift roof. The walls of the trench act as a windbreak, and the excavated snow can be piled on top to create a layer of insulation. The roof can be constructed from branches, snow blocks, or even a tarp if available. The trench should be oriented to face away from the prevailing wind. While less insulated than a quinzee or snow cave, a snow trench can provide crucial protection from the wind and retain some body heat, making it a valuable option when time or resources are limited. Ensuring adequate ventilation is still essential to prevent carbon monoxide buildup if using any form of heating.
Utilizing Natural Materials for Framework and Roofing
Beyond snow, the frozen valley often offers other natural resources that can be incorporated into shelter construction. Branches, logs, and even large rocks can provide the framework and roofing materials necessary to complete an improvised structure.
Employing Branches and Logs for Structural Support
In wooded areas of a frozen valley, fallen branches and even larger logs can be invaluable for constructing a shelter’s framework. Sturdy branches can be used to create a basic A-frame or lean-to structure. Larger logs can form a more robust support system for a larger shelter. The key is to select sound, dry wood that can withstand the elements. These frameworks are then typically covered with other insulating materials, such as evergreen boughs, leaves, or snow. When constructing with logs, ensure they are placed securely to prevent collapse. The angle of the branches in an A-frame or lean-to should be steep enough to shed snow and water effectively. Even small, pliable branches can be woven together to create a more solid surface for layering other materials.
Layering Evergreen Boughs for Insulation and Waterproofing
Dense evergreen boughs, such as those from spruce or fir trees, are an excellent natural material for insulating and waterproofing a shelter. When layered thickly, they create a dense mat that can block wind and shed water. The boughs should be placed with the needles pointing downwards to encourage water runoff. Several layers are necessary to achieve adequate insulation. The framework created with branches or logs provides the support for these boughs. The denser the boughs and the thicker the layering, the more effective the shelter will be in protecting against the cold and precipitation. When gathering boughs, it is important to do so sustainably, taking only what is necessary and avoiding damaging living trees unless it is a dire emergency.
Incorporating Rocks and Soil for Stability and Insulation
In rocky valleys, larger rocks can be incorporated into shelter construction. They can be used to form the base of a wall, provide a windbreak, or even create a stable roof support. Smaller rocks can be used to fill gaps and add to the insulation. If the ground beneath the snow is not completely frozen, layers of soil can also be used to enhance insulation. However, in extreme cold, frozen ground can be difficult to excavate. Rocks can also be used to anchor roofing materials, preventing them from being blown away by the wind. The thermal mass of larger rocks can also offer some residual warmth if they have been exposed to sunlight, although this effect is minimal in prolonged freezing conditions.
Maximizing Heat Retention and Body Warmth
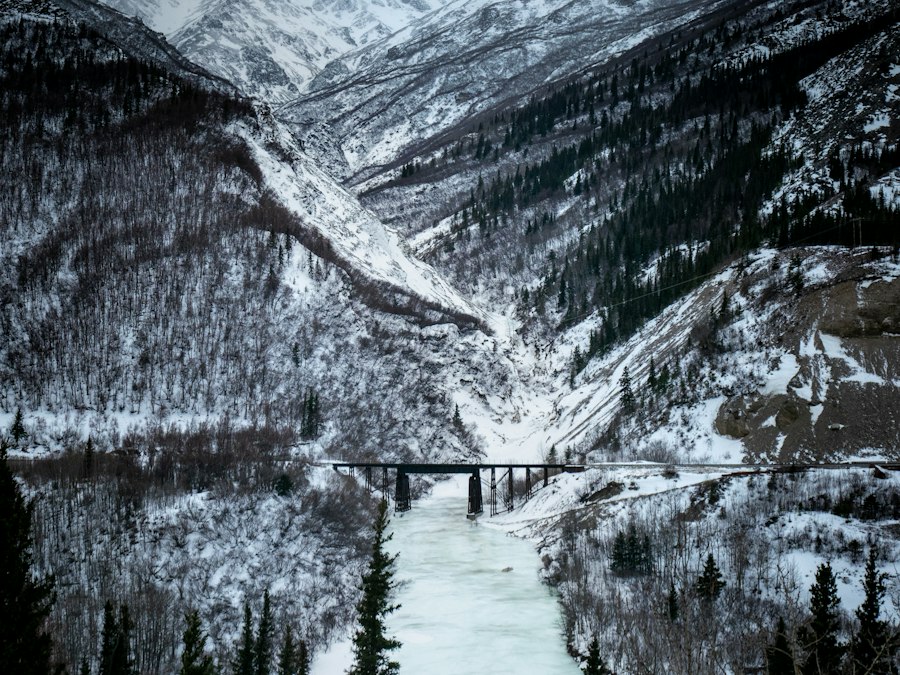
Once a shelter is established, the focus shifts to maximizing the retention of body heat. This involves a combination of insulating the shelter effectively, minimizing heat loss through the body, and, if possible, creating a small heat source.
Insulating the Shelter from the Cold Floor
A significant amount of body heat can be lost to the cold ground. Therefore, creating an insulating barrier between the body and the shelter floor is crucial. This layer prevents conductive heat loss.
Building a Raised Sleeping Platform
Constructing a raised sleeping platform within the shelter is one of the most effective ways to combat heat loss to the ground. This can be achieved by piling up insulating materials such as dry leaves, grass, or evergreen boughs to create a raised bed. The higher the platform, the better the insulation. Even a few inches of compacted insulating material can make a significant difference. The platform should be wide enough to allow for comfortable sleep and long enough to fully support the body. Ensure the material used is dry, as moisture will conduct heat away from the body.
Utilizing Debris for Ground Insulation
If a raised platform is not feasible, a thick layer of dry debris – such as leaves, pine needles, or dry grass – can be used to insulate the ground. The thicker the layer, the more effective it will be. This debris acts as a poor conductor of heat, trapping air and reducing heat transfer from the body to the cold ground. It is important to gather as much dry debris as possible and pack it down to create a dense, insulating layer. Ensure that the debris is free of moisture, as wet materials will rapidly draw heat away from the body.
Minimizing Heat Loss Through the Body
Even within a sheltered environment, the body continues to lose heat to the surrounding air. Strategies to minimize this heat loss are essential for maintaining core body temperature.
Proper Layering of Clothing
The most effective way to retain body heat is through proper layering of clothing. This involves wearing multiple layers of insulating materials, with each layer serving a specific purpose. The base layer, worn next to the skin, should wick moisture away from the body. The middle layer, often made of fleece or wool, provides insulation. The outer layer should be windproof and waterproof to protect against the elements. Avoid cotton, as it retains moisture and loses its insulating properties when wet. Wool and synthetic materials are far superior in cold, wet conditions. Ensure layers are not too tight, as this can restrict blood circulation and reduce insulation.
Sealing Gaps and Drafts in the Shelter
Once the shelter is constructed and a sleeping area is prepared, it is essential to seal any remaining gaps or drafts. These openings can allow cold air to enter and warm air to escape, significantly reducing the effectiveness of the shelter. Use snow, boughs, or any available materials to block any cracks or holes in the walls or roof. Pay particular attention to the entrance of the shelter. Creating a smaller, secondary entrance or a flap can help to minimize heat loss. Small drafts can be addressed by stuffing them with insulating material. A well-sealed shelter will trap precious body heat more effectively.
Creating and Maintaining a Heat Source (with extreme caution)
In dire situations, a small, controlled heat source can be beneficial, but this must be undertaken with extreme caution due to the risk of fire, carbon monoxide poisoning, and the depletion of vital oxygen.
The Dangers of Fire in Confined Spaces
Starting a fire inside a small, enclosed shelter is extremely dangerous. The risk of carbon monoxide poisoning is very high, as the gas is odorless and colorless and can quickly incapacitate and kill. Furthermore, any open flame in a dry shelter environment can easily ignite the insulating materials, leading to a catastrophic fire. If a fire is absolutely necessary, it should only be attempted in a very well-ventilated area, ideally with a purpose-built fire pit that directs smoke upwards and away from the shelter.
Utilizing Body Heat and Shared Warmth
The most sustainable and safest “heat source” in a survival situation is often human body heat. Huddling together with companions can significantly increase the overall warmth within a shelter. Sharing body heat can raise the internal temperature of the shelter and reduce the risk of hypothermia for everyone involved. This communal warmth is a powerful survival tool.
Emergency Signaling and Rescue Preparedness
Finding and constructing shelter is a crucial step in survival, but it is only one part of the equation. Being able to signal for help and being prepared for rescue are equally vital. Effective signaling can drastically reduce the time spent in a survival situation.
Understanding Effective Signaling Techniques
When signaling for rescue, clarity and visibility are paramount. The goal is to make oneself as conspicuous as possible to potential rescuers.
The Rule of Threes for Visual Signals
The rule of threes is a fundamental principle in survival signaling: three of anything. This can translate to three fires in a triangle, three blasts of a whistle, or three flashes of a mirror. These signals are internationally recognized as distress signals. If you have the means to create three distinct signals, do so at regular intervals.
Utilizing Reflective Surfaces for Signaling
Shiny objects, such as mirrors, polished metal, or even cell phone screens, can be used to reflect sunlight and create highly visible flashes. Aim the flashes towards aircraft or distant search parties. Practice aiming the reflection before you need to use it. The brighter and more frequent the flashes, the greater the chance of being seen.
Creating Visible Ground Signals
In snow-covered valleys, creating large, visible ground signals can be highly effective. This can involve using contrasting materials, such as dark branches or rocks, to form large letters or symbols on the snow. The universal distress signal is “SOS.” The larger and more distinct the signal, the better. Consider the line of sight from the air when choosing the location for your ground signal.
Maintaining Preparedness for Rescue Operations
Rescue operations can be complex and often involve challenging conditions. Being prepared for them can ensure a smoother and safer extraction.
Conserving Energy and Staying Visible
Once you have signaled for help, it is important to conserve your energy while remaining visible. Avoid unnecessary exertion that can lead to fatigue and increased heat loss. Keep your signaling devices readily accessible and be prepared to use them again if you see or hear potential rescuers. If you have established a visible ground signal, try to maintain it.
The Importance of Communication Devices (if available)
If you have access to a satellite phone, personal locator beacon (PLB), or even a cell phone with signal, these should be your primary means of communication. Even if you can only send a text message with your location, it can be invaluable. Conserve battery life by turning the device off when not actively using it. Understand how to use your device’s GPS function to provide accurate coordinates.
Preparing for Extraction: Medical Needs and Equipment
If you have any medical conditions or injuries, ensure they are managed as best as possible while awaiting rescue. Have any necessary medications readily accessible. Organize your essential survival gear so it can be easily handed over to rescuers. If you have shelter materials that are not essential for your immediate survival, consider leaving them behind to reduce your load during extraction. Staying calm and cooperative with rescue personnel is crucial.
When traveling through frozen valleys, finding emergency shelter can be crucial for survival, especially in harsh conditions. For those seeking guidance on navigating these treacherous terrains, a related article offers valuable insights into the historical significance of shelter and navigation. You can explore this fascinating connection in the article about the Library of Alexandria’s legacy, which discusses how ancient maps and knowledge can inform modern adventurers about safe havens in extreme environments.
Psychological Fortitude and Maintaining Hope
| Metric | Description | Typical Values | Importance Level | Notes |
|---|---|---|---|---|
| Average Distance to Nearest Shelter | Distance travelers must cover to reach emergency shelter | 5-15 km | High | Varies based on valley terrain and infrastructure |
| Temperature Range | Typical temperature range in frozen valleys during travel | -20°C to -5°C | High | Impacts shelter insulation requirements |
| Availability of Natural Shelter | Presence of caves, rock overhangs, or dense tree cover | Low to Moderate | Medium | Natural shelters may provide temporary refuge |
| Emergency Shelter Capacity | Number of people a shelter can accommodate | 1-10 persons | High | Smaller shelters common in remote areas |
| Time to Set Up Temporary Shelter | Duration to erect a tent or snow shelter | 30-90 minutes | High | Depends on skill level and weather conditions |
| Communication Signal Availability | Access to mobile or radio signals for emergency calls | Low | High | Often limited in remote frozen valleys |
| Wind Speed | Average wind speed affecting shelter stability | 10-40 km/h | Medium | Strong winds increase shelter risk |
| Snow Depth | Depth of snow affecting shelter construction and access | 30-100 cm | High | Impacts mobility and insulation |
Beyond the physical skills of shelter building and signaling, the psychological aspect of survival is equally critical. Maintaining a positive mental attitude, managing fear, and holding onto hope can significantly influence the outcome of a survival situation. The harshness of a frozen valley can be daunting, and the mental battle is often as challenging as the physical one.
Combating Fear and Despair
Fear and despair are natural responses to a dangerous and isolating situation. However, allowing these emotions to take hold can paralyze decision-making and lead to poor choices. The key is to acknowledge these feelings but not be consumed by them.
The Power of a Survival Mindset
Developing a survival mindset is about shifting focus from what is lost to what can be done. It involves breaking down overwhelming tasks into smaller, manageable steps. Instead of dwelling on the impossibility of the situation, concentrate on the immediate need: finding shelter, gathering resources, or signaling for help. This proactive approach fosters a sense of control and agency, which are crucial for combating despair. Remember that many people have survived challenging circumstances; their stories can offer inspiration and a reminder of human resilience.
Focusing on Immediate Tasks and Small Victories
In a survival scenario, it is easy to become overwhelmed by the enormity of the challenge. The key to maintaining mental fortitude is to focus on immediate, achievable tasks. For instance, instead of thinking, “I need to survive for days,” concentrate on, “I need to find a suitable location for shelter right now.” Each completed task, no matter how small, represents a victory and builds momentum. Successfully building a shelter, finding a water source, or making a clear signal are all significant achievements that can boost morale and reinforce the will to survive. Celebrate these small wins; they are the building blocks of a successful survival effort.
The Importance of Hope and a Reason to Live
Hope is a powerful motivator. In the depths of a survival crisis, it is the flicker of hope that can keep individuals pushing forward when all seems lost. This hope can stem from various sources, but it is the belief that rescue is possible and the desire to return to loved ones that often fuels the strongest will to survive.
Holding Onto a Reason for Survival
Identifying and holding onto a strong reason for survival is paramount. This could be family, friends, unfinished goals, or simply the inherent value of life. Reflecting on these reasons can provide the emotional strength needed to endure hardship. Visualize the reunion with loved ones or the completion of a significant life goal. This mental rehearsal can serve as a powerful anchor during moments of doubt.
The Role of Companionship and Mutual Support
If surviving with others, the presence of companionship can be an invaluable psychological asset. Mutual support, shared responsibility, and the knowledge that you are not alone can significantly mitigate feelings of isolation and despair. Encourage each other, share tasks, and celebrate successes together. The act of caring for another person can also provide a strong sense of purpose and reaffirm the desire to survive.
The frozen valley, while a formidable adversary, can be navigated and endured with the right knowledge and a resilient spirit. The essential survival tips discussed – from assessing the terrain and constructing improvised shelters to maximizing heat retention and maintaining psychological fortitude – form a comprehensive framework for confronting such challenging environments. By understanding and applying these principles, individuals can significantly increase their chances of survival, transforming a potentially fatal encounter with the frozen wilderness into a testament to human ingenuity and perseverance.
➡️Life 20,000 Years Ago | When Strangers Claim Your Winter Shelter 🚨
FAQs
What should I look for in an emergency shelter when traveling through frozen valleys?
When seeking an emergency shelter in frozen valleys, look for a location that offers protection from wind and precipitation. Ideally, the shelter should be insulated, have a waterproof covering, and be elevated from the ground to avoid moisture. Natural formations like caves or overhangs can provide good shelter, but ensure they are safe and stable.
How can I identify potential emergency shelters in frozen valleys?
Potential emergency shelters can be identified by observing the landscape for natural features such as caves, rock formations, or dense tree cover. Additionally, man-made structures like cabins, huts, or emergency shelters may be marked on maps or indicated by local signage. Always carry a map and compass or GPS device to help navigate to these locations.
What supplies should I carry for emergency shelter situations?
Essential supplies to carry include a portable emergency blanket, a multi-tool, waterproof matches or a lighter, a first aid kit, and non-perishable food. A small tarp or emergency bivvy can also be useful for creating a makeshift shelter. Additionally, ensure you have warm clothing and extra layers to maintain body heat.
How can I stay warm while waiting for help in an emergency shelter?
To stay warm while in an emergency shelter, use insulation from natural materials like leaves or pine needles to create a barrier between yourself and the cold ground. Keep your body heat contained by wearing multiple layers of clothing and using a sleeping bag if available. Additionally, consume high-energy food and drink warm liquids if possible to maintain energy levels.
What should I do if I cannot find a suitable emergency shelter?
If you cannot find a suitable emergency shelter, consider creating a temporary shelter using available materials. Use a tarp or emergency blanket to block wind and precipitation. Build a snow cave or a lean-to with branches and foliage for insulation. Always prioritize staying dry and insulated to prevent hypothermia while signaling for help if necessary.