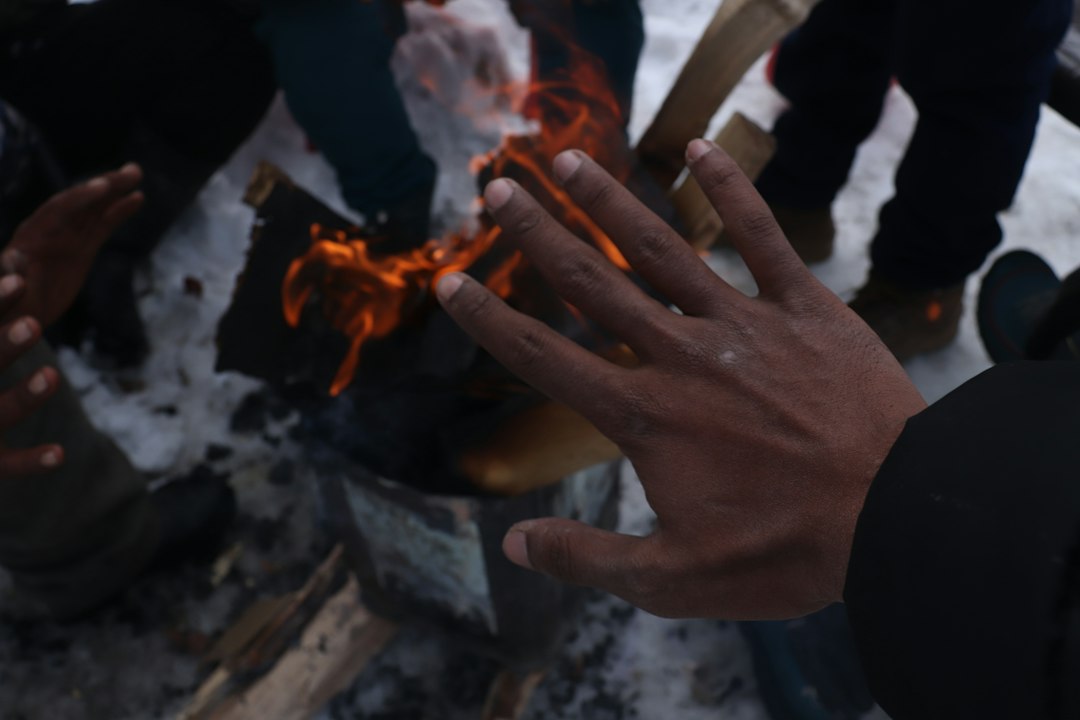
The biting wind howled, a relentless predator against the fragile shelter. Snow, driven horizontally by gale-force gusts, clawed at exposed skin, seeking any weakness. In the heart of a winter blizzard, the primal need for warmth and light becomes an overwhelming imperative. Survival hinges on the ability to conjure fire, a beacon against the encroaching darkness and the numbing chill. While modern conveniences like lighters and matches are invaluable, understanding primitive fire-making methods offers a crucial layer of redundancy, a testament to human ingenuity and resilience in the face of nature’s harshest moods. These ancient techniques, honed over millennia, represent a deep connection to the earth and its resources, a skill set that can mean the difference between life and death when technology fails or is simply unavailable.
The Foundation of Flame: Tinder and Kindling
The cornerstone of any successful fire, regardless of the method used to initiate it, lies in the careful selection and preparation of tinder and kindling. Without these, even the hottest spark will flicker and die, a fleeting promise of warmth unfulfilled. For winter survival, where moisture is an ever-present adversary, finding and preparing dry materials becomes paramount. The blizzard itself, while a threat, can also be a source of opportunity if one knows where to look and how to protect precious resources.
Harvesting Dry Tinder
Tinder is the material that catches the initial spark or ember. In a wet environment, this requires an almost forensic approach to searching for protected, dry organic matter. The inner bark of certain trees, like birch and cedar, is notoriously good at holding a spark. When the outer bark is wet, the papery, fibrous inner layers often remain surprisingly dry, especially on standing dead trees or on the leeward side of large, thick trunks where the wind and precipitation have less direct impact. Look for dead, standing trees; these are generally drier than those lying on the wet ground. Scratching away the sodden outer layers can reveal a dry, fluffy core.
Beyond tree bark, other excellent tinder sources can be found if one is observant. The dry, fibrous seed heads of certain grasses, if they have been protected by snow drifts or dense undergrowth, can sometimes yield usable material. Cattail down, when dry, is incredibly flammable, but finding it dry in a blizzard is a significant challenge. Look for it in sheltered depressions or under overhangs. The key is to seek out places where moisture has been actively repelled. Small, dry, dead leaves that have accumulated in sheltered crevices or under thick evergreen boughs can also be salvaged. Even the inner fluff from the dried husks of pine cones can serve as tinder if found in a sufficiently dry state.
Preparing Kindling for Ignition
Kindling acts as the intermediary between the delicate tinder and the larger fuel wood. It’s the material that sustains the flame once it has caught from the tinder, allowing it to grow and eventually ignite the main fuel source. In a winter storm, kindling must be meticulously prepared to ensure it will burn even if slightly damp. Small, dry twigs, about the thickness of a pencil lead, are ideal. Again, standing deadwood is the best source. Snap these twigs; if they break with a clean, sharp snap, they are likely dry enough. If they bend or tear, they are too wet.
When gathering kindling, it is often necessary to process it further. Shaving off the wet outer layer of slightly damp twigs can reveal drier wood beneath. The process of creating “feather sticks” is invaluable here. Using a sharp knife (or a sharp stone flake in a true primitive scenario), one shaves thin curls from a dry stick, leaving them attached at one end. These curls increase the surface area and are more likely to ignite from the tinder. The drier the core wood of the twig, the more effective feather sticks will be.
In the context of primitive fire-making methods, especially during the harsh conditions of winter blizzards and storms, understanding the historical practices of ancient mariners can provide valuable insights. For instance, the article on ancient mariners’ maps explores how these early navigators adapted to extreme weather conditions, which often included the challenges of maintaining warmth and safety during storms. You can read more about their fascinating techniques and survival strategies in this related article: Exploring Antarctica: Ancient Mariners’ Maps.
The Art of Friction: Bow Drill and Hand Drill
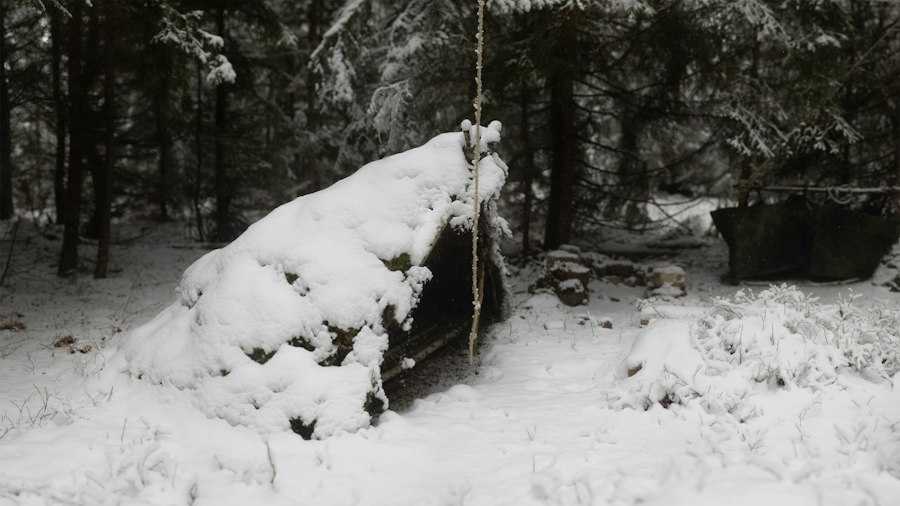
Friction-based fire-making methods are arguably the most challenging and require the most practice, yet they represent the pinnacle of primitive fire craft. These techniques rely on generating enough heat through relentless friction between two pieces of wood to create an ember, which is then transferred to the tinder bundle. In a blizzard, the cold can make these methods even more arduous, but a successful fire offers an unparalleled reward.
Mastering the Bow Drill
The bow drill is the more efficient and generally easier of the friction methods to learn, though it still demands significant skill and dedication. It consists of four main components: the spindle, the fireboard, the bow, and the socket. The spindle is a straight, dry stick, typically about arm’s length, with a rounded bottom and a pointed top. The fireboard is a flat piece of dry, medium-soft wood, with a small notch cut into its edge and a depression drilled near the notch. The bow is a curved stick with a string (traditionally made from rawhide or strong cordage) tied tautly between its ends. The socket, or handhold, is a piece of hard wood, stone, or bone with a depression that fits the top of the spindle, allowing it to be rotated.
The process involves wrapping the bowstring once around the spindle, placing the bottom of the spindle into the depression on the fireboard, and then applying downward pressure with the socket on the top of the spindle. The bow is then rapidly moved back and forth, causing the spindle to spin. As the spindle spins in the depression, friction generates heat and produces fine wood dust. This dust collects in the notch and, with sustained effort, will begin to smoke. Once smoke appears, the effort intensifies, and the goal is to create a glowing ember within the dust. This ember is then carefully transferred to the prepared tinder bundle. For winter survival, it is critical to keep all components as dry as possible, perhaps by wrapping them in waterproof material or keeping them close to one’s body.
The Demands of the Hand Drill
The hand drill is a more elemental and physically demanding friction method. It uses a long, slender spindle that is spun rapidly between the palms of the hands. The fireboard is similar to that used in the bow drill, with a depression and a notch. The user places the spindle in the depression and rolls it vigorously between their palms, moving their hands down the spindle as they do so, then quickly returning to the top to repeat the process. This requires an incredible amount of hand speed, coordination, and endurance.
The key to success with the hand drill is to maintain consistent downward pressure while spinning. The wood dust generated will accumulate in the notch, and eventually, a glowing ember will form. This method is particularly challenging in cold weather, as numb fingers can significantly impair grip and dexterity. Finding suitable, dry materials for both the spindle and the fireboard is also crucial. The spindle needs to be straight and relatively hard, while the fireboard should be of a softer wood that will ablate effectively. Practicing this method in a controlled environment before a survival situation is essential for even a rudimentary chance of success.
Striking Sparks: Flint and Steel
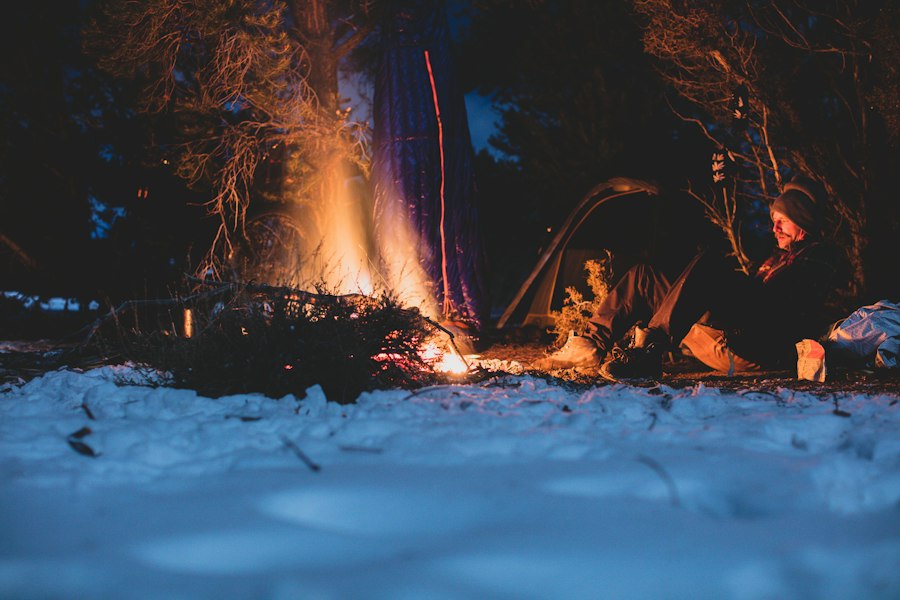
The advent of flint and steel marked a significant leap forward in fire-making technology, offering a more reliable and less physically taxing method than friction alone. While it still requires skill and the right materials, it is often considered more accessible for survival scenarios, especially when compared to the advanced friction techniques. The principle is to strike a piece of high-carbon steel against a sharp, hard edge of flint (or other suitable rock like chert or quartz) with enough force and at the right angle to shave off tiny particles of steel. These particles, when rapidly heated by the friction, oxidize and become incandescent, creating sparks.
The Anatomy of a Spark Kit
A successful flint and steel fire-making kit, even a primitive one, requires careful consideration. The flint must be hard and have a sharp edge. Natural edges of broken flint or chert often work best. If a sharp edge is not present, it can be carefully flaked to create one, though this adds complexity. The steel should be high-carbon steel. Older carbon steel knives, file fragments, or specially made striker tools are ideal. Stainless steel generally does not produce sparks with flint.
The “tinder” for flint and steel is often referred to as “char cloth” or “fungus tinder” (like amadou, derived from the tinder fungus Fomes fomentarius). Char cloth is cotton fabric that has been heated in a low-oxygen environment until it is carbonized, making it extremely easy to ignite with a spark. A single spark can cause char cloth to glow, making the transfer to a larger tinder bundle much more straightforward. In a true survival scenario, if char cloth is not readily available, highly flammable, dry, fibrous materials like the inner bark of cedar or birch, or even dried grass seed heads, can be used, though they are more difficult to ignite with sparks. The key is that the tinder must be able to catch and hold a very small ember, which is precisely what a spark provides.
Striking with Precision
The technique for striking flint and steel involves holding the flint firmly in one hand, with the sharp edge exposed. The steel striker is held in the other hand, and with a swift, downward motion, it is scraped across the flint’s edge. The angle of the strike is crucial; a glancing blow that shaves off small pieces of steel is required, not a direct impact that could chip the flint or bend the steel. The sparks produced are directed towards the prepared tinder. In a blizzard, protecting the sparks from the wind is paramount. Creating a small windbreak with your body or cupped hands is essential. The process is repeated until a spark lands on the tinder and begins to glow. Once the tinder begins to smolder, it is gently blown upon to increase airflow and coax it into a flame, which is then transferred to the kindling.
The Magnifying Power of the Sun
In conditions of a winter blizzard, relying on solar methods for fire-starting might seem counterintuitive, given the typically overcast skies and short daylight hours. However, if the storm briefly abates, or if one is caught in a lull between squalls, the sun’s power can still be harnessed. This method requires a clear line of sight to the sun and a focusing lens.
Utilizing Natural Lenses
Nature itself can sometimes provide the means to focus sunlight into an intense beam. Ice, when clear and shaped correctly, can act as a lens. Carefully shaping a piece of clear ice into a convex lens, with the thinner edges and a thicker middle, can concentrate sunlight. This requires patience and a good understanding of optics. The best ice for this purpose is typically found on lakes or ponds where it is smooth and free from impurities. Shaping it can be done by scraping with a knife or even with the hands, though the cold makes this difficult.
Another natural lens material, though less likely to be encountered in a blizzard scenario unless already prepared, is a clear piece of glass, such as from a broken bottle or windowpane. If such a fragment can be found and is sufficiently convex, it can also be used to focus sunlight. The principle remains the same: creating a convex surface that bends and concentrates the sun’s rays to a single focal point.
Creating the Focal Point
Once a lens is fashioned or found, the process involves angling it to catch the sun’s rays. The goal is to direct the focused beam of light onto the tinder. The point where the light converges will become intensely hot. The tinder must be placed precisely at this focal point. For blizzard survival, finding a sheltered spot, perhaps under a rocky overhang or behind a natural windbreak, is essential to protect the delicate process from the wind and falling snow. Even a brief period of clear sky can provide enough concentrated sunlight to ignite prepared tinder. The tinder used for solar methods should be very fine and dark, as dark materials absorb more light and heat. Char cloth or very dry, dark-colored plant fibers are good candidates. As with other methods, patience and precision are key.
In the midst of winter blizzards and storms, understanding primitive fire-making methods can be crucial for survival. These techniques not only provide warmth but also serve as a vital source of light and a means to cook food. For those interested in exploring the historical significance and practical applications of these methods, a fascinating article discusses the economic importance of various resources, including those that can be utilized in survival situations. You can read more about this topic in the article on economic importance.
Preparing for the Inevitable: Water and Preparedness
| Primitive Fire Making Method | Effectiveness in Winter Blizzards | Required Materials | Average Time to Ignite | Challenges Faced | Survival Usefulness |
|---|---|---|---|---|---|
| Friction Fire (Hand Drill) | Low | Dry wood, tinder | 10-20 minutes | Wet wood, cold hands, wind | Moderate – requires preparation and shelter |
| Friction Fire (Bow Drill) | Moderate | Dry wood, bow, cordage, tinder | 5-15 minutes | Wet materials, wind, cold affecting dexterity | High – faster ignition, better control |
| Flint and Steel | High | Flint, steel striker, char cloth or dry tinder | 1-5 minutes | Keeping tinder dry, wind blowing sparks away | Very High – reliable and quick |
| Fire Plough | Low | Soft wood base, hardwood stick, tinder | 15-30 minutes | Wet wood, cold, wind | Low – difficult in harsh conditions |
| Fire Saw | Moderate | Two pieces of wood, tinder | 10-20 minutes | Wet wood, wind, cold | Moderate – requires skill and dry materials |
Beyond the methods themselves, the true key to surviving a winter blizzard with fire-making lies in meticulous preparation and a deep understanding of the environment. The blizzard is not just an event to be endured; it is a dynamic force that can both hinder and, with foresight, aid the survivalist.
Safeguarding Critical Supplies
In the face of a winter storm, the absolute priority is to protect your fire-making resources from moisture. This means having waterproof containers or bags for your tinder, kindling, and any specialized fire-starting tools like a ferrocerium rod or waterproof matches. Even if you are proficient with primitive methods, having a small, well-protected stash of dry tinder is a significant advantage. Consider using a small, sealed plastic bag or a watertight metal tin to store your most critical tinder, such as cotton balls soaked in petroleum jelly or commercial fire starters. Similarly, keeping your knife and any other tools dry and accessible is vital.
Understanding Snow as a Resource and a Hazard
While snow is the primary antagonist in a blizzard, it can also be managed. If forced to seek shelter, understanding how to use snow for insulation is critical. A snow cave or a quinzhee can provide surprisingly effective protection from the wind and cold. However, melting snow for water requires fuel, and fire is the most efficient way to do this. If you are able to start a fire, managing the snow around it is important. Avoid building a fire directly on deep snow, as it will melt and your fire will sink. Instead, create a platform of larger branches or rocks to elevate your fire.
In the context of fire-making, snow can also be a hazard. It can dampen everything it touches. When gathering materials, be mindful of the snow cover. Look for standing deadwood that may be protected from the heaviest snowfall. If materials are damp, bringing them inside your shelter and allowing them to dry near your body heat or a carefully managed fire is essential. Even the moisture in the air can be a problem, so keeping your fire-making kit sealed is paramount. The ability to improvise, to adapt, and to protect your resources against the relentless onslaught of the storm is the ultimate testament to preparedness for winter blizzard survival. The primitive fire-making methods are the tools, but preparedness is the hand that wields them with success.

Life 20,000 Years Ago | When an Ice Age Wildfire Traps Your Primitive Family
FAQs
What are some traditional methods of fire making during winter storms?
Traditional methods of fire making during winter storms include using a bow drill, hand drill, and flint and steel. These techniques rely on friction or striking materials to create sparks, which can ignite tinder. It’s essential to have dry tinder and kindling, which can be challenging to find during blizzards.
How can I prepare for fire making before a winter storm?
Preparation is key for fire making during winter storms. Gather and store dry tinder, such as birch bark or dry grass, in a waterproof container. Additionally, collect kindling and larger firewood before the storm hits. Familiarize yourself with primitive fire-making techniques and practice them in dry conditions.
What types of tinder are best for starting a fire in snowy conditions?
In snowy conditions, the best types of tinder include natural materials that are resistant to moisture, such as dry pine needles, birch bark, or cotton balls soaked in petroleum jelly. These materials ignite easily and can help start a fire even when surrounding conditions are damp or snowy.
How can I protect my fire from wind and snow during a storm?
To protect your fire from wind and snow, create a windbreak using logs, rocks, or snow walls. Build your fire in a sheltered area, such as a depression in the ground or near large trees. Additionally, keep your fire small and manageable to reduce the risk of it being extinguished by snow or wind.
What safety precautions should I take when making a fire in winter conditions?
When making a fire in winter conditions, ensure you have a clear area free of flammable materials. Keep a shovel or tool handy to manage snow and prevent the fire from spreading. Always monitor the fire closely, and have a means to extinguish it if necessary, such as water or snow, to prevent accidental wildfires.