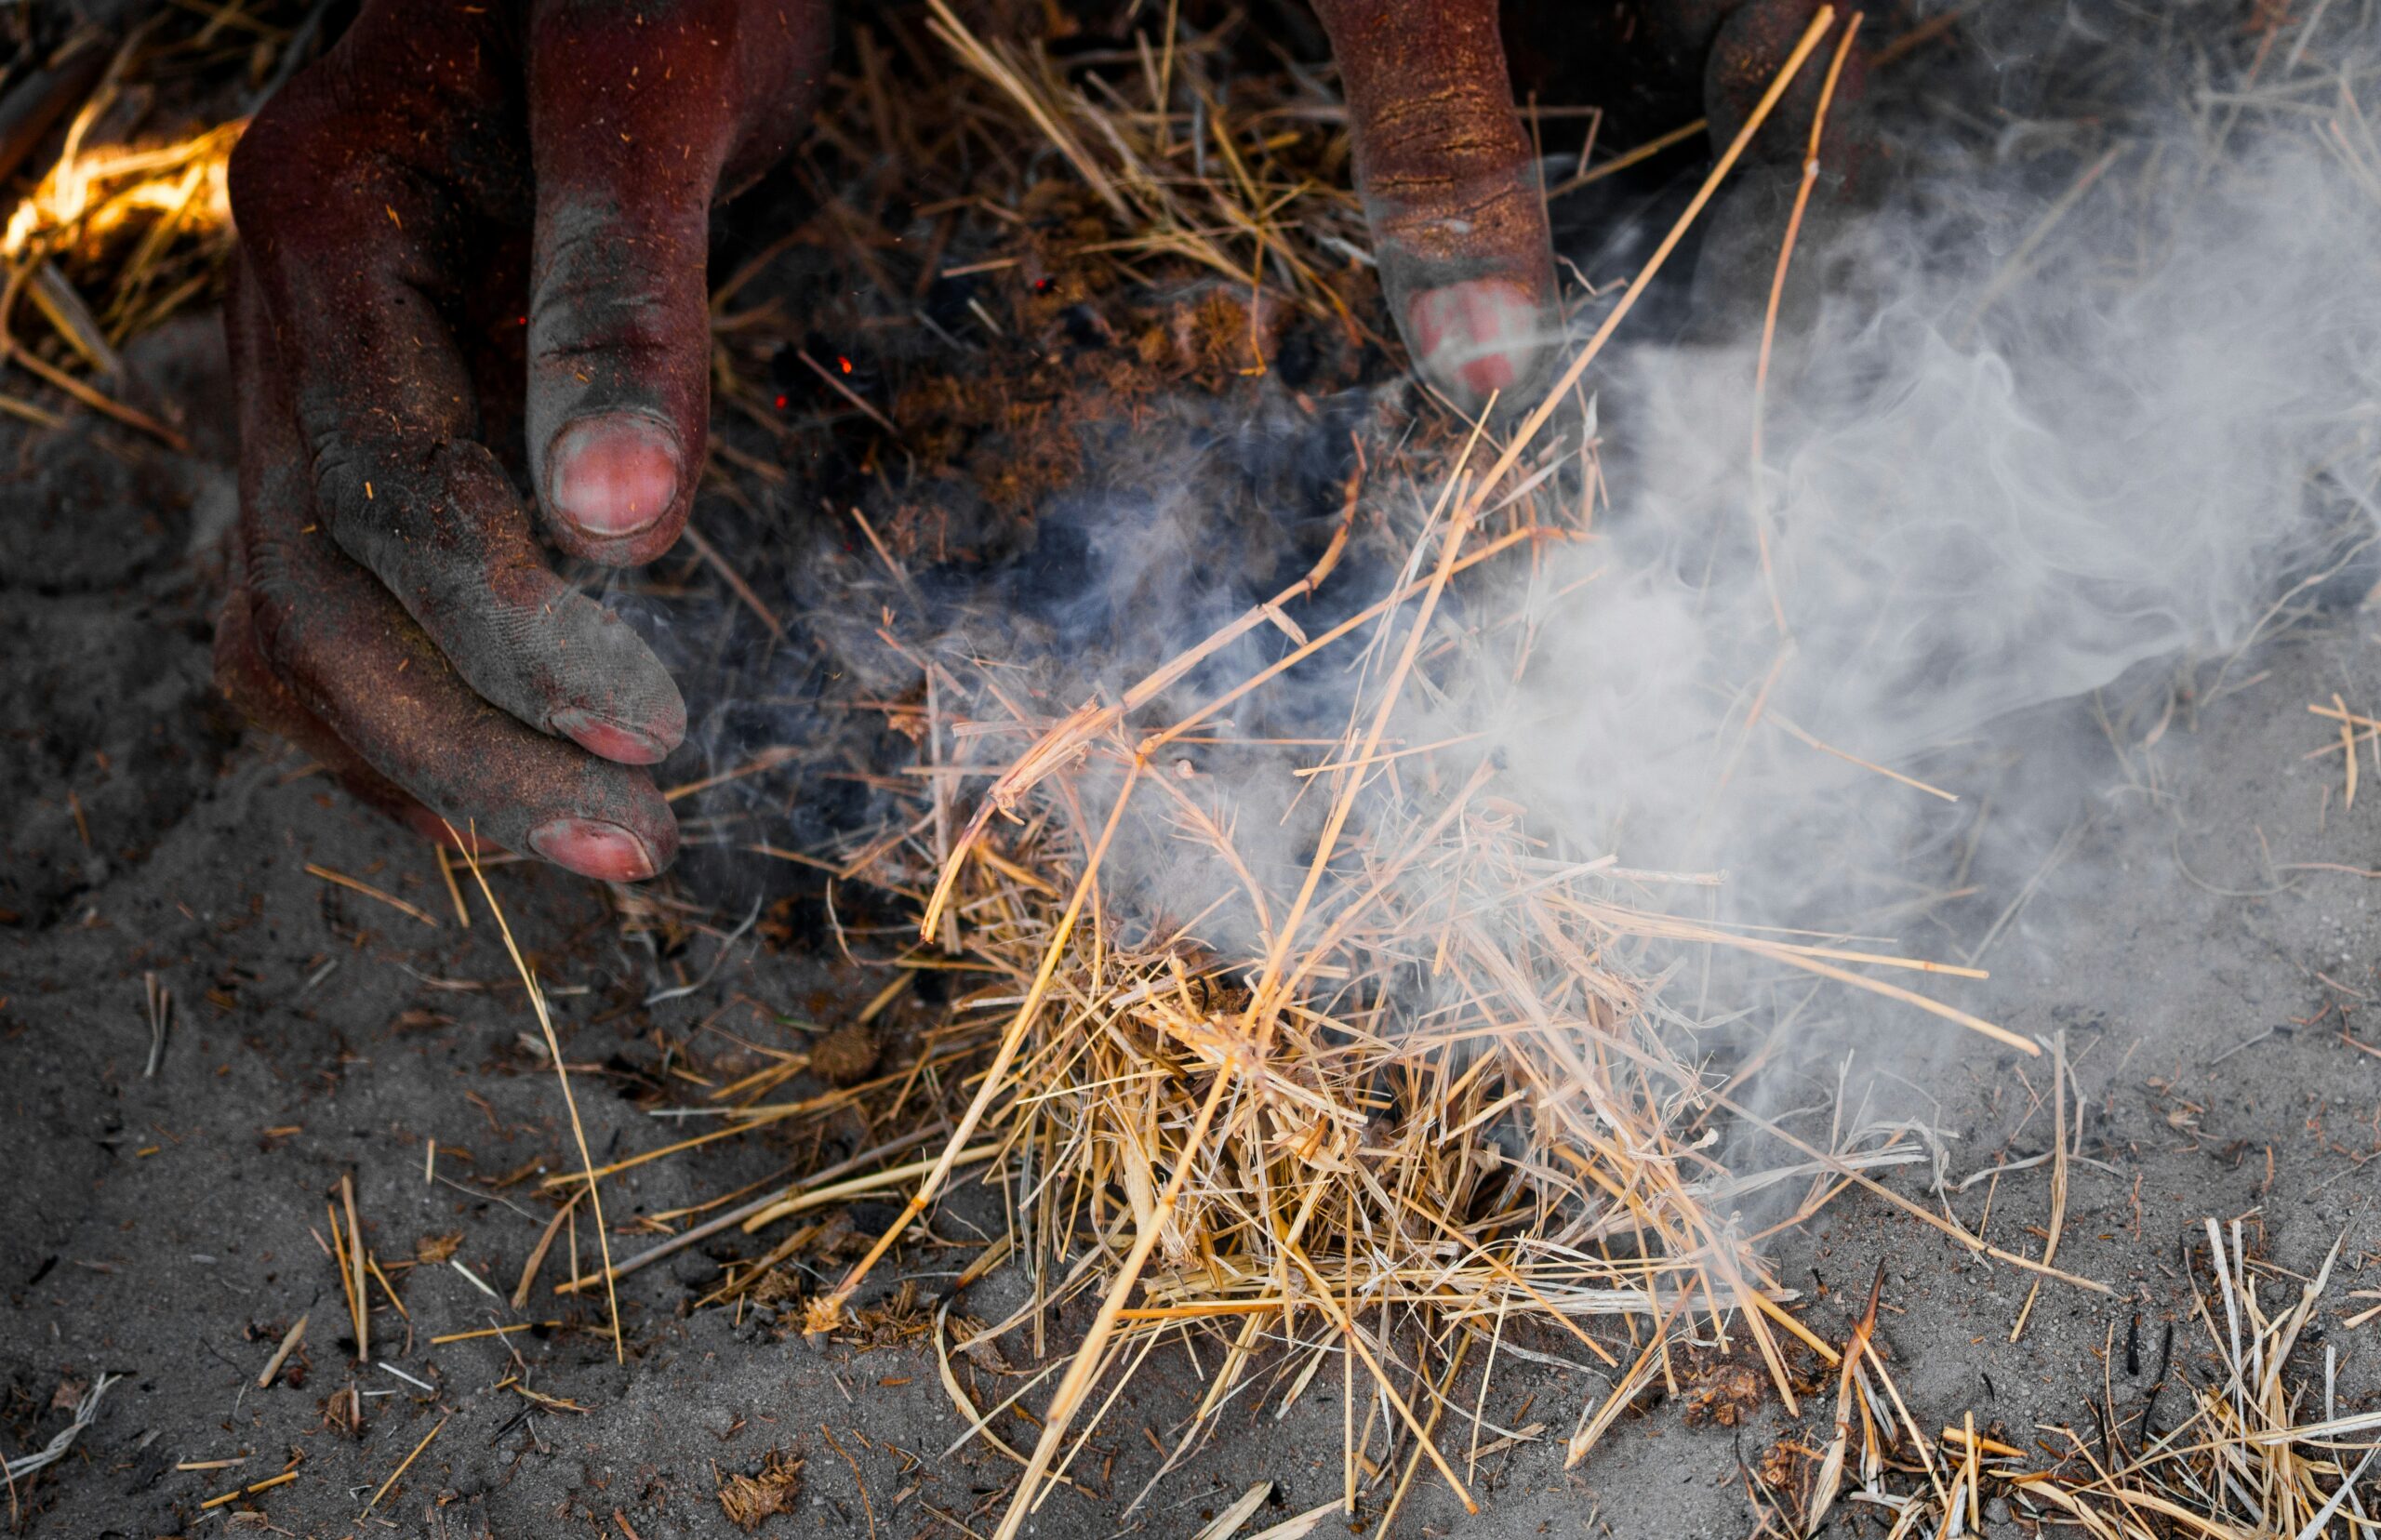
The relentless drumming of rain can extinguish the most determined flame, turning a campfire into a soggy disappointment and a survival situation into a desperate gamble. Yet, for millennia, humans have mastered the art of coaxing fire from reluctant tinder, even under the most adverse conditions. This enduring skill is not a relic of the past; it is a vital piece of knowledge for anyone venturing into the wilderness, a testament to human ingenuity and resilience. Primitive fire-starting techniques, refined over countless generations, offer reliable methods to generate a spark and sustain a flame, even when nature conspires against you. The key lies not in modern conveniences, but in understanding the fundamental principles of fire and applying them with practiced precision.
The Unseen Spark: Understanding the Mechanics of Ignition
Before delving into specific techniques, a foundational understanding of how fire is born is paramount. Fire requires three elements: fuel, oxygen, and heat. In a damp environment, all three present unique challenges. Fuel becomes saturated, oxygen can be displaced by water vapor, and the heat required to reach the ignition point of dry tinder is significantly amplified. Primitive fire-starting methods focus on generating sufficient heat through friction or percussion to overcome the moisture and initiate combustion in carefully prepared tinder. The process is a chain reaction: a small spark or ember ignites a highly flammable material, which then ignites progressively larger fuel sources. Success hinges on the meticulous selection and preparation of each link in this chain, especially when humidity or precipitation is high.
The Trifecta of Fire: Fuel, Oxygen, and Heat in the Rain
In a wet environment, the usual abundance of these elements is compromised. Damp wood struggles to combust, often releasing more steam than flame. Oxygen is readily available, but its effectiveness is reduced as it has to contend with water molecules. The most critical factor becomes the generation of adequate heat. Primitive methods aim to concentrate this heat into a tiny point, raising the temperature of the tinder to its flashpoint. This often involves sustained effort, generating heat through the rubbing of one material against another, or by striking hard substances together to create sparks. The goal is to create an ember, a glowing piece of partially combusted material, which can then be carefully nurtured into a flame.
Ignition Principles: From Ember to Inferno
The journey from a potential spark to a roaring fire is a delicate dance. An ember, once created, is a fragile thing. It requires a constant supply of oxygen and proximity to a highly combustible material that will readily accept the heat and ignite. This is where the “tinder bundle” comes into play. This carefully constructed nest of the driest, fluffiest material available acts as the initial fuel for the ember. Once the ember is established within the tinder bundle, the fire-starter gently blows on it, increasing the oxygen flow. This gentle persuasion allows the ember to grow, eventually consuming the tinder and bursting into flame. The transition from ember to flame is often the most critical and vulnerable stage, demanding patience and controlled breath.
For those interested in primitive fire starting techniques, especially in challenging conditions like rain, a fascinating article can be found at this link. It explores various methods and tools that ancient cultures used to create fire, emphasizing the importance of understanding natural materials and techniques that can be adapted for wet environments. This knowledge not only connects us to our ancestors but also enhances our survival skills in modern outdoor adventures.
Friction’s Fury: Mastering the Bow Drill and Hand Drill

Friction-based fire starting is arguably the most ancient and widely recognized primitive method. It relies on the principle that the rapid rubbing of two pieces of wood together generates heat, which can eventually create an ember. While seemingly simple, mastering these techniques requires practice, patience, and an intimate understanding of wood types and their properties. In wet conditions, the preparation of the components is even more crucial, as any dampness will significantly hinder the process.
The Resilient Bow Drill: A Mechanical Advantage
The bow drill is a sophisticated evolution of the hand drill, employing a bow and string to spin the spindle at a much higher speed and with greater force. This mechanical advantage makes it more efficient, particularly in challenging weather. The key components are the spindle (a straight, dry stick), the fireboard (a flat piece of dry wood with a notch), the socket (a handhold to apply downward pressure), and the bow (a curved stick with a string). For rain, the materials must be absolutely dry. If natural materials are damp, they can be dried by placing them near an existing (however small) flame, or by holding them close to one’s body for an extended period. The notch in the fireboard is crucial, as it collects the wood dust generated by the friction. This dust, when heated sufficiently, will begin to smolder, forming the precious ember.
Sourcing and Preparing Bow Drill Components in the Wet
Finding dry wood for a bow drill in the rain is the first hurdle. Look for dead, standing wood that has been protected from direct rainfall, such as under thick canopy or in hollow logs. Inner wood, if it can be accessed, is often drier than the outer layers. The spindle should be of a medium hardness, such as cedar, basswood, or cottonwood, and smoothed to a pencil-like point. The fireboard should be made of a softer wood, like willow, poplar, or aspen, to allow for easier dust creation. The bow can be fashioned from a flexible branch, and the string from strong cordage, rawhide, or even dried gut. If all available wood is damp, it can be painstakingly scraped to expose the drier inner layers.
The Technique of Bow Drilling for Persistent Embers
Once the components are assembled and as dry as possible, the process begins. The string of the bow is wrapped around the spindle. The spindle is placed vertically in the notch of the fireboard, with the socket held firmly in the other hand to apply downward pressure. The bow is then moved back and forth in a sawing motion, causing the spindle to spin rapidly against the fireboard. Consistent, even pressure and a smooth, rhythmic motion are essential. The operator must maintain this for a significant period, building up heat and accumulating fine wood dust in the notch. This dust will begin to darken and smoke. As soon as a smoldering ember is observed, the spindle is removed, and the glowing dust is gently transferred to a prepared tinder bundle.
The Primal Hand Drill: A Test of Endurance
The hand drill is the most basic friction method, relying solely on the rotational force of the hands. It is more physically demanding and less efficient than the bow drill, making it a greater challenge in wet conditions. However, its simplicity means fewer components are needed, and thus fewer things can become damp and unusable. The principle is the same: rapid rotation of a spindle against a fireboard.
Selecting and Shaping the Hand Drill Tools
For the hand drill, the spindle needs to be longer and straighter than for a bow drill. Suitable woods include mullein stalks, elderberry, or yucca. The fireboard should be soft wood, and again, a notch is cut into its edge. The key to success with the hand drill, especially in the rain, is to find the driest possible materials and to prepare them meticulously. Scrape away any damp outer layers with a sharp stone or knife.
The Art of Spinning for a Smoldering Heart
The technique involves holding the spindle upright between the palms, with the bottom end seated in the notch of the fireboard. The hands are then rolled rapidly down the spindle, creating friction. The spindle is then brought back to the top, and the process is repeated without lifting the hands entirely off the spindle. This requires incredible dexterity and stamina. As with the bow drill, the goal is to create enough hot wood dust that will eventually smolder. Patience is a virtue here, as it can take a considerable amount of effort to generate a viable ember.
Percussion’s Power: The Flint and Steel Principle

Percussion-based fire starting, most famously represented by flint and steel, relies on striking two hard substances together to create sparks. These sparks, when directed at highly flammable tinder, can initiate combustion. This method can be exceptionally effective in wet conditions because the spark itself is a momentary burst of intense heat, requiring less sustained effort than friction methods to get started.
The Dance of Steel and Stone: Creating the Spark
The classic flint and steel combination involves a piece of high-carbon steel and a sharp-edged piece of flint or chert. When the steel is struck against the flint at a specific angle, small shavings of steel are shaved off. These shavings are heated by the impact and oxidation, becoming incandescent sparks. The challenge in the rain is twofold: keeping the striking materials dry and ensuring the sparks land on suitably dry and receptive tinder.
Sourcing and Preparing Flint and Steel Equivalents
While true flint and steel are ideal, other materials can be used. For steel, the spine of a carbon steel knife or a piece of hardened steel from a tool can suffice. For the “flint,” a hard, sharp-edged rock like chert, quartz, or even certain types of obsidian can be used. The crucial aspect is hardness and the ability to create a sharp edge. If these are found wet, they can be dried by warming them near a fire or simply by rubbing them vigorously on dry clothing.
The Art of Striking: Guiding the Fiery Flecks
The technique involves holding the flint firmly and striking it with the steel in a downward motion, aiming to shave off small particles of steel. The sparks generated are relatively cool and short-lived, so the tinder must be exceptionally dry and fluffy to catch them. The flint is typically held at an angle relative to the steel. A steady hand and controlled strikes are key. The goal is to direct a shower of sparks onto the prepared tinder bundle.
Alternative Percussion Methods: Natural Spark Generators
Beyond the classic flint and steel, other natural materials can be employed to generate sparks. Certain types of iron pyrite, when struck against flint or chert, can produce sparks. This method was used by early humans before the widespread availability of steel. The principle remains the same: creating a sharp impact that shaves off material and generates heat through friction and oxidation.
Utilizing Iron Pyrite and Hard Rocks
Iron pyrite, often referred to as “fool’s gold,” is a mineral that can produce sparks when struck against a hard rock like flint. The key is to find a piece of pyrite with a reasonably sharp edge or to strike it with a sharp edge of the flint. The sparks produced are often smaller and less intense than those from steel, making the tinder preparation even more critical. Again, ensuring the materials are as dry as possible is paramount.
The Importance of the “Char Cloth” Equivalent
While not strictly a percussion method, the concept of “char cloth” or similarly prepared tinder is essential for any spark-based ignition. Char cloth is fabric that has been heated in an airtight container, partially combusting it into a material that will readily catch a spark and smolder. In primitive settings, this concept can be replicated by using extremely dry, fluffy tinder that has been charred or partially burnt. This creates a material with a lower ignition point and a greater ability to hold an ember.
Tinder’s Triumph: The Art of Preparing Dry Fuel in the Rain
The most sophisticated fire-starting technique is rendered useless without the right tinder. In wet conditions, finding and preparing tinder is perhaps the single most challenging aspect of primitive fire starting. Tinder must be bone dry, fine, and fluffy to catch a spark or ember and ignite.
Identifying Nature’s Dry Reserves: Hidden Havens for Flame
Even in a downpour, dry tinder can often be found if one knows where to look. Dead standing grass that is sheltered by rocks or fallen logs, the inner bark of certain trees, bird nests, and the pithy centers of dead plants are all potential sources. Look for materials that are protected from direct rainfall.
Inner Bark Fibers and Dead Standing Grasses
The inner bark of trees like cedar, birch, and poplar can be surprisingly dry, especially if the outer bark has provided adequate protection. Scrape and shred this inner bark into fine fibers. Dead standing grasses, particularly those with seed heads, can also be excellent tinder. If they are damp, they can be dried by crushing them and holding them close to the body for an extended period.
Bird Nests and Seed Down: Nature’s Fluffy Treasures
Abandoned bird nests are often a goldmine of dry, fluffy tinder. The fine materials used by birds for lining are perfect for catching a spark. Similarly, the downy seeds of plants like cattails or thistles, when thoroughly dried, can be incredibly effective. These materials should be gathered and stored in a dry place, such as a waterproof pouch or pocket, as soon as they are found.
The Crucial Process of Drying and Processing Tinder
Once potential tinder is gathered, the process of drying and processing it is critical. If it is merely damp, it must be thoroughly dried. This can be done by holding it against your body, in the warmth of your clothing, or by carefully placing it near a small, existing flame. Once dry, the tinder needs to be processed to increase its surface area and fluffiness. This involves shredding, scraping, and teasing the fibers apart to create a light, airy bundle that will readily accept a spark.
Utilizing Body Heat and Shelter for Dehydration
The human body is a remarkable source of warmth. By carefully tucking damp tinder into pockets close to the skin, one can gradually dry it out. Creating a small shelter from the rain, even a makeshift one, can also allow the tinder to dry passively.
Shredding and Fluffing for Optimal Ignition
Once dry, the tinder must be prepared for ignition. This involves taking the material and meticulously shredding or scraping it to create a fine, fibrous texture. The goal is to create a loose, airy bundle that will allow for maximum oxygen exposure, facilitating the transfer of heat from a spark or ember. The more finely and evenly the tinder is processed, the higher the chance of successful ignition.
Primitive fire starting techniques can be incredibly challenging, especially in adverse weather conditions like rain. Understanding how ancient cultures managed to create fire despite such obstacles can provide valuable insights into survival skills. For those interested in exploring this topic further, a fascinating article discusses the lost ancient technologies and the methods used by our ancestors, which can be found here. This resource delves into the ingenuity required to spark flames under less-than-ideal circumstances, highlighting the resilience and resourcefulness of early humans.
Sustaining the Flame: From Ember to Enduring Fire
| Technique | Materials Used | Effectiveness in Rain | Time to Ignite (minutes) | Durability of Flame | Notes |
|---|---|---|---|---|---|
| Friction Fire – Hand Drill | Dry wood spindle & fireboard | Low | 10-20 | Short | Requires very dry materials; difficult in rain |
| Friction Fire – Bow Drill | Dry wood spindle, fireboard, bow | Moderate | 5-15 | Short to Moderate | Better control; still needs dry tinder |
| Flint and Steel | Flint rock, steel striker, char cloth | Moderate | 2-5 | Moderate | Char cloth must be kept dry; sparks can ignite damp tinder if prepared |
| Fire Plough | Softwood base, hardwood stick | Low | 15-25 | Short | Very difficult in wet conditions |
| Fire from Firesteel (Magnesium Rod) | Magnesium rod, striker, dry tinder | High | 1-3 | Long | Magnesium shavings burn hot and can ignite damp tinder |
| Fire from Lens (Sunlight) | Magnifying glass or ice lens, dry tinder | Very Low | Varies | Moderate | Not effective in rain or overcast skies |
Igniting the tinder is only the first step. The real challenge in the rain is to nurture that initial flame into a sustained fire that can provide warmth, cook food, and signal for help. This requires a steady supply of progressively larger fuel sources, all kept as dry as possible.
Gradual Progression: The Ladder of Fuel Sizes
Once the tinder has burst into flame, the next step is to introduce increasingly larger fuel. This is a carefully orchestrated process, as too much too soon can smother the flame, while too little will allow it to die out. The key is to have a range of dry materials ready, from tiny twigs to progressively thicker branches.
The Transition from Tinder to Kindling
The smallest, driest twigs, often referred to as “kindling,” are the first to be introduced. These should be pencil-lead thin at first, then gradually increasing in thickness. The operator must continue to provide airflow to the young flame, often by gently blowing on it, until the kindling is burning steadily.
Building the Fire Structure: From Twigs to Logs
As the kindling catches and burns brightly, larger pieces of wood can be added. This process continues, with each stage of fuel being slightly larger and drier than the last. The structure of the fire also plays a role. A teepee or log cabin structure allows for good airflow, which is crucial for combustion, especially in humid conditions.
Protecting Your Fire: Defending Against the Elements
Even a roaring fire can be vulnerable to heavy rain. Building a shelter over the fire, or strategically placing larger logs to act as a shield, can significantly increase its longevity and effectiveness. This is where foresight and careful planning become essential.
Creating Natural Shelters and Windbreaks
Utilizing natural formations like rock overhangs or dense tree canopies can offer protection. In the absence of such features, one can construct a rudimentary shelter using branches and large leaves. This not only shields the fire from direct rain but also helps to contain the heat.
The Importance of Maintaining Airflow and Dry Fuel Reserves
Even with protection, it is vital to ensure that the fire continues to receive adequate oxygen. Regularly clearing away ash and ensuring the fuel is arranged to allow for airflow is crucial. Furthermore, having a reserve of dry fuel, kept under shelter, is paramount. This allows for continuous feeding of the fire without having to venture out into the rain to find more. The ability to successfully start and maintain a fire in adverse conditions is a testament to human adaptability and a skill that can mean the difference between survival and succumbing to the elements. It is a skill that requires practice, patience, and a deep respect for the power and potential of nature.