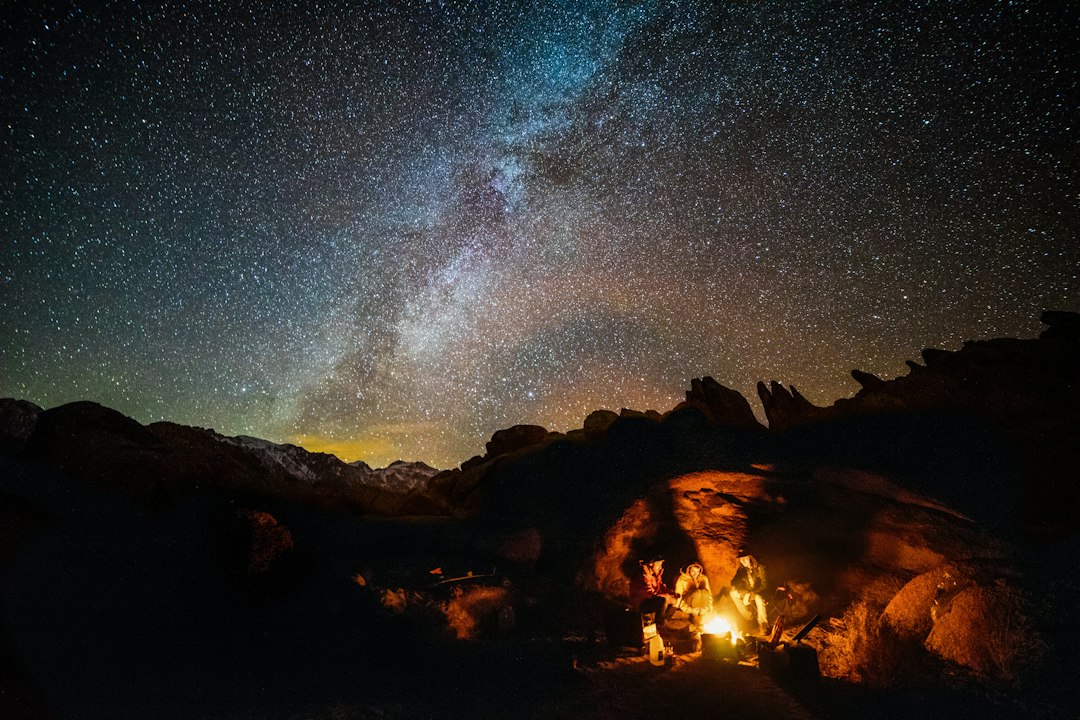
The flickering dance of flames within a shared rock shelter offers a primal comfort, a beacon against the encroaching darkness and a source of warmth and security for those huddled within its protective embrace. However, this essential practice, while seemingly straightforward, demands careful consideration and adherence to strict safety protocols, especially when multiple individuals or groups are sharing the confined space. Tending a fire in such an environment requires a delicate balance between harnessing its benefits and mitigating its inherent risks. This guide delves into the nuances of responsibly managing a fire within a shared rock shelter, offering practical tips and essential safety measures to ensure a harmonious and secure experience for all.
Site Selection and Preparation: Laying the Foundation for a Safe Fire
The success and safety of any fire, particularly within a confined shelter, begin long before the first spark is struck. Careful assessment of the rock shelter’s suitability and meticulous preparation of the fire site are paramount. This phase involves understanding the natural characteristics of the shelter and anticipating potential hazards.
Assessing Shelter Suitability for Fire
Not all rock shelters are created equal when it comes to housing a fire. A thorough evaluation of the shelter’s structure is the first critical step. The presence of overhanging ledges or dense vegetation directly above the intended fire location poses a significant fire risk. Loose rocks or unstable sections of the shelter walls could also be dislodged by the heat and movement associated with fire building, leading to dangerous collapses. The depth of the shelter is also a consideration; shallow overhangs offer less protection from the elements and can funnel smoke back towards occupants more readily. A deep, dry shelter with a well-ventilated opening, free from flammable materials directly overhead, is ideal. Experts often recommend shelters with a natural chimney effect, where the opening draws smoke upwards and away from the interior. The ground surface within the shelter also needs to be assessed. It should be non-flammable, ideally packed earth, sand, or gravel, free from dried leaves, roots, or other organic matter that could ignite.
Creating a Defined Fire Pit
Within the chosen shelter, a dedicated fire pit is not merely a suggestion but a necessity. This pit serves to contain the fire, prevent its uncontrolled spread, and manage embers. The pit should be dug to a depth of at least 15-20 centimeters, removing all combustible material from the chosen area. The circumference of the pit should be clearly defined, typically using stones or by simply ensuring a clean, cleared circle of bare earth. These stones should be non-porous and dry; porous or wet stones can explode when heated due to trapped moisture, creating dangerous shrapnel. The size of the pit should be proportionate to the intended fire size, ensuring it fits comfortably within the shelter without encroaching on living space or creating excessive heat buildup. For shared shelters, the fire pit’s location is crucial. It should be positioned in the most open and well-ventilated part of the shelter, ideally towards the entrance, allowing for efficient smoke dispersal. Consideration should be given to the prevailing wind direction to ensure smoke is channeled outwards rather than back into the shelter.
Clearing Surrounding Areas and Creating a Fire Break
The safety zone around the fire pit is as important as the pit itself. A minimum of one meter, and preferably two to three meters, should be cleared of all flammable materials extending outwards from the edge of the fire pit. This includes leaves, dry grass, twigs, and any other organic debris. This “fire break” acts as a crucial barrier, preventing stray sparks or embers from igniting the surrounding environment. Within the shelter, this clearing is particularly vital. Any accumulated detritus should be removed, and the ground meticulously swept clean. Outside the shelter, if there is any surrounding dry vegetation, this should also be cleared back a significant distance, especially if the shelter’s opening is directly facing such material. The goal is to create a visual and physical boundary that clearly delineates the safe fire area and minimizes the risk of an accidental conflagration spreading beyond the immediate vicinity.
When tending a fire inside a shared rock shelter, it’s essential to consider the environmental impact and safety precautions necessary for such an activity. A related article that explores the broader implications of geological changes and their effects on landscapes can provide valuable insights. For more information on how these changes influence our surroundings, you can read the article on isostatic rebound and Antarctic topography at this link. Understanding the dynamics of our environment can enhance our appreciation for the natural world while ensuring we practice responsible fire management in shared spaces.
Fuel Management and Fire Building: Mastering the Art of Controlled Combustion
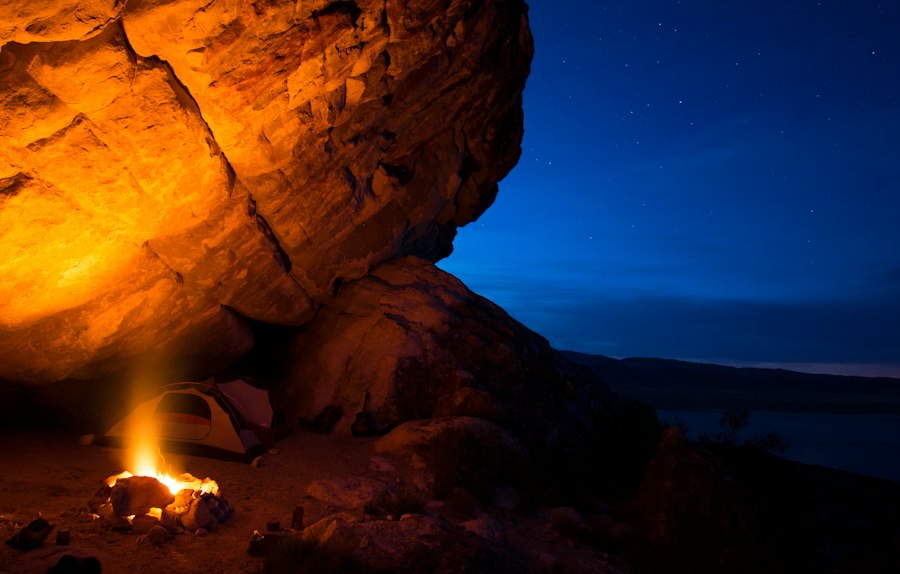
Once the site is prepared, the focus shifts to the fuel and the methodical process of building and maintaining a safe fire. Responsible fuel selection and a well-structured fire-building approach are fundamental to achieving a controlled and efficient burn, especially within the confines of a shared shelter.
Selecting Appropriate Fuel Sources
The type of fuel used directly impacts the intensity, duration, and smoke production of the fire. For rock shelter fires, it is crucial to prioritize dry, seasoned wood. Green or damp wood produces excessive smoke, making the shelter uncomfortable and potentially dangerous due to carbon monoxide buildup. Small, dry twigs and branches, often referred to as “kindling,” are essential for starting the fire. These should be readily available and kept in a dry location. Once the kindling has caught, progressively larger pieces of wood can be added, moving from pencil-thick to wrist-thick branches. Avoid using overly large logs, as they can create excessive heat and are harder to manage in a confined space. Furthermore, it is imperative to only use wood found on the ground; never cut live branches or trees. This practice respects the natural environment and ensures that readily available, dry fuel sources are utilized. In shared shelters, consensus on fuel collection is important to avoid depleting local resources and ensure equitable contribution.
Layering Kindling, Tinder, and Fuelwood
The construction of a fire is akin to building a small structure, with each component playing a vital role. Tinder, the most easily ignitable material, forms the base. This can include dry grass, birch bark shavings, or commercially available fire starters. This is then surrounded and topped with a generous amount of dry kindling, arranged in a way that allows for airflow. A common and effective method is the “teepee” structure, where the kindling is leaned against the tinder in a cone shape. Once the kindling is burning well, progressively larger pieces of fuelwood are added, also in a manner that permits good airflow. For shared shelters, the fire builder should communicate their intentions and the fire’s progress to others present. The goal is to achieve a steady, controlled burn, rather than a roaring inferno. Avoid packing the fuel too tightly, as this will restrict oxygen and smolder.
Controlling Fire Size and Intensity
The limited space within a rock shelter necessitates strict control over the fire’s size and intensity. A large, raging fire can quickly overwhelm the shelter, making it uncomfortable and dangerous. It can also lead to excessive heat damage to the shelter walls and ceiling. Aim for a fire that is just large enough to provide adequate warmth and light. This means using smaller pieces of fuelwood and adding them incrementally rather than throwing on large amounts at once. The flame height should be kept manageable, ideally no more than waist-high. If the fire becomes too large or too hot, it is crucial to have a plan to reduce its intensity. This can be achieved by carefully removing some of the fuelwood or by gently spreading out the burning logs, allowing them to burn down more slowly. In shared shelters, individuals should feel empowered to voice concerns if they feel the fire is becoming too large or intense, and the fire tender should be receptive to these concerns.
Ventilation and Smoke Management: Breathing Easy in Confined Spaces
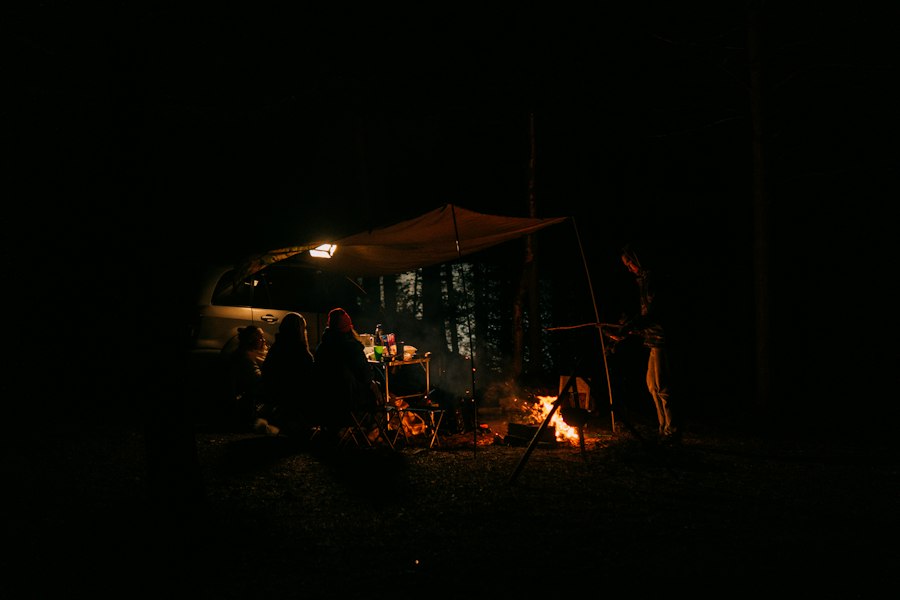
The most significant danger of fires within enclosed spaces is the accumulation of smoke and toxic gases. Effective ventilation is not a luxury but a life-saving necessity, and understanding how to manage smoke is critical for the well-being of everyone present in the shelter.
Maximizing Natural Ventilation
Rock shelters, by their nature, often possess natural ventilation through their openings. The key is to ensure these openings are as unobstructed as possible. This means keeping the entrance clear of gear and ensuring no large rocks or debris are blocking airflow. In some cases, the shape of the shelter might create a natural chimney effect, where air is drawn in through lower openings and smoke is expelled through higher ones. Understanding and utilizing these natural airflow patterns is crucial. If the shelter has multiple openings, experiment with which ones to keep open and which to partially close to optimize airflow and minimize drafts that could draw smoke back inside. The fire should ideally be positioned so that it benefits from this natural draft, drawing fresh air in and pushing smoke out.
Creating Artificial Ventilation if Necessary
In exceptionally still air conditions or in shelters with poor natural ventilation, artificial methods may be required to ensure adequate airflow. This can involve using a small fan (if electricity is available, though unlikely in a primitive shelter scenario) or, more practically, strategically arranging sleeping mats or tarpaulins to create airflow. For instance, a slightly raised tarp at the entrance can sometimes create a subtle updraft. Another technique involves periodically opening and closing an entrance flap or even using a piece of cloth to gently fan the air, creating brief periods of increased ventilation. However, these methods must be employed with caution, as creating strong drafts could inadvertently draw smoke back into the shelter or fuel the fire excessively. Communication among shelter occupants is vital to identify when ventilation is becoming insufficient. Symptoms like coughing, eye irritation, or a persistent smoky smell should be immediate indicators that ventilation needs improvement.
Monitoring Air Quality and Recognizing Danger Signs
Carbon monoxide (CO) is a silent killer, odorless and colorless. Its buildup in enclosed spaces is a serious risk associated with fires. It is imperative to be aware of the signs of CO poisoning: headaches, dizziness, nausea, confusion, and shortness of breath. If anyone experiences these symptoms, immediate action is required. First and foremost, the fire should be reduced or extinguished, and everyone should exit the shelter to breathe fresh air. Opening all entrances and allowing the shelter to air out is crucial. In more primitive settings, having a basic understanding of how smoke behaves is important. If smoke is pooling at ceiling level or drifting back into the shelter rather than rising and exiting, it indicates a ventilation problem. Regularly checking the air quality, especially during the night or when the fire is at its peak, is a vital safety practice. In a shared shelter, designating a “lookout” for air quality can be a good practice.
Fire Safety and Emergency Preparedness: Mitigating Risks and Responding to Incidents
Despite meticulous preparation, the inherent risks associated with fire, especially in a confined space, cannot be entirely eliminated. Therefore, robust safety measures and a clear emergency plan are essential components of responsible fire tending in a shared rock shelter.
Keeping Water and Extinguishing Materials Nearby
The most effective way to control a small fire or extinguish a larger one is with water. Always have a readily accessible supply of water near the fire pit. This could be in the form of a water-filled container, a snowbank (if applicable), or even buckets if in a more developed setting. Alongside water, having materials to smother the flames is also crucial. This could include sand, dirt, or a fire blanket (if available). These should be kept within easy reach of the fire pit, ensuring that in the event of a flare-up or accidental spread, they can be deployed immediately. In a shared shelter, it’s important that everyone knows the location of these extinguishing materials.
Establishing Clear Rules and Responsibilities for Shared Use
When a rock shelter is shared, clear communication and established rules are paramount to prevent misunderstandings and ensure everyone’s safety. Before the fire is even lit, discuss and agree upon rules regarding fire tending, fuel collection, and acceptable fire size. Designate a primary fire tender responsible for its upkeep, but also ensure others are aware of the basic principles of fire safety and how to assist in an emergency. Rules should be established about keeping flammable materials away from the fire, not leaving the fire unattended, and what to do in case of an emergency. A designated person to monitor ventilation and air quality can also be beneficial in a shared setting. These rules should be communicated clearly and respectfully to all occupants.
Developing an Emergency Evacuation Plan
Despite all precautions, accidents can happen. Having a pre-determined emergency evacuation plan is vital. This plan should outline clear escape routes from the shelter, especially in the event of a fire spreading rapidly or smoke becoming overwhelming. Identify the safest direction to exit and establish a rendezvous point outside the shelter where everyone can gather. In a shared shelter, ensure everyone understands the evacuation signal (e.g., a specific call or whistle) and the meeting point. Practice the evacuation plan mentally, and if possible, physically walk through the escape routes. Knowing what to do in a crisis can significantly reduce panic and ensure a more orderly and safe evacuation for everyone involved.
When tending a fire inside a shared rock shelter, it’s essential to prioritize safety and ensure that everyone in the space is comfortable with the arrangement. Proper ventilation and careful management of the flames can prevent smoke inhalation and maintain a pleasant atmosphere for all. For more insights on making informed decisions in challenging situations, you might find this article on selling your house before a potential economic collapse helpful. It discusses various factors to consider, which can be relevant in any scenario where resources are limited. You can read it here: selling your house before a potential economic collapse.
Post-Fire Procedures and Leave No Trace: Ensuring a Safe Departure
| Metric | Description | Recommended Value | Notes |
|---|---|---|---|
| Fire Size | Diameter of the fire pit | 30-50 cm | Small enough to control smoke and heat |
| Smoke Ventilation | Number of ventilation openings in shelter | 2-3 | Ensures smoke dispersal and air circulation |
| Firewood Type | Preferred wood for burning | Dry hardwood | Burns longer and produces less smoke |
| Fire Maintenance Frequency | How often fire needs tending | Every 30-60 minutes | To maintain steady heat and prevent extinguishing |
| Distance from Shelter Walls | Space between fire and rock walls | At least 1 meter | Prevents heat damage and reduces fire risk |
| Fire Extinguishing Method | Preferred way to put out fire | Cover with soil and water | Ensures fire is fully out and safe |
| Number of People Sharing Shelter | Occupants tending the fire | 2-5 | Allows for shared responsibility and safety |
The responsibilities of fire tending do not end when the flames die down. Proper post-fire procedures are critical for ensuring the continued safety of the shelter and its surroundings, and for adhering to the principles of responsible outdoor recreation.
Ensuring the Fire is Completely Extinguished
Even when the flames appear to have died out, embers can remain hot for extended periods, posing a significant smoldering risk. It is crucial to ensure the fire is completely extinguished before leaving the shelter or going to sleep. This involves thoroughly dousing the ashes with water, stirring them with a stick or shovel to ensure all embers are wet, and then dousing them again. Repeat this process until the ashes are cool to the touch. Burying the ashes can help further dissipate any residual heat, but only after they have been confirmed as cold. In a shared shelter, everyone should be confident that the fire is completely out before they settle down for the night or depart.
Disposing of Ashes Responsibly
Once the ashes are completely cold, they should be disposed of responsibly. The best practice is to scatter them widely in an area away from water sources and any vegetation that could be ignited by residual heat. If the shelter has a designated fire pit with a stone perimeter, this is often the ideal location for ash disposal, provided the area is well-cleared and the ashes are cold. Avoid piling ashes near the shelter walls or at the entrance, as they can still retain heat or attract unwanted attention. In some sensitive ecological areas, it may be advisable to pack out ashes entirely. Always research and adhere to local regulations and Leave No Trace principles regarding ash disposal.
Restoring the Site to its Natural State
The “Leave No Trace” ethic is fundamental to responsible outdoor exploration. After the fire has been safely extinguished and ashes disposed of, the fire pit area and the surrounding shelter should be returned to their natural state as much as possible. This involves removing any stones used to define the pit (unless they are a permanent fixture of the natural shelter) and smoothing over the area to blend it in with the surrounding ground. Any collected fuelwood should be dispersed back into the environment, and any borrowed materials should be returned. The aim is for the shelter to appear as if no fire was ever present, minimizing human impact and preserving the natural beauty for future visitors. This careful restoration ensures the long-term health of the environment and demonstrates respect for the natural world.

➡️Life 20,000 Years Ago | When Strangers Claim Your Winter Shelter 🚨
FAQs
What are the safety precautions to take when tending a fire inside a shared rock shelter?
When tending a fire inside a shared rock shelter, it is crucial to ensure proper ventilation to prevent smoke buildup. Always keep a fire extinguisher or a bucket of water/sand nearby for emergencies. Use only dry, seasoned wood to minimize smoke and sparks. Additionally, maintain a safe distance from flammable materials and never leave the fire unattended.
How can I ensure that the fire does not damage the rock shelter?
To prevent damage to the rock shelter, use a fire pit or designated fire area that is away from the walls and ceiling. Avoid direct contact between the fire and the rock surfaces. Additionally, limit the size of the fire to what is necessary for warmth or cooking, and always clean up ashes and debris after extinguishing the fire.
What types of fuel are best for a fire in a rock shelter?
The best types of fuel for a fire in a rock shelter are dry, seasoned hardwoods such as oak, maple, or hickory, as they burn longer and produce less smoke. Avoid using softwoods like pine or cedar, which can create excessive smoke and sparks. Always ensure that the wood is sourced sustainably and legally.
How can I minimize smoke when tending a fire in a rock shelter?
To minimize smoke, use dry, seasoned wood and ensure that the fire is well-aerated. Arrange the wood in a way that allows for good airflow, such as using a teepee or log cabin structure. Avoid overloading the fire with too much wood at once, and regularly adjust the logs to maintain an efficient burn.
What should I do if the fire gets out of control?
If the fire gets out of control, remain calm and act quickly. Use a fire extinguisher or pour water or sand on the flames to extinguish them. If the fire cannot be controlled, evacuate the shelter immediately and call emergency services. Always have a plan in place for such situations before starting the fire.